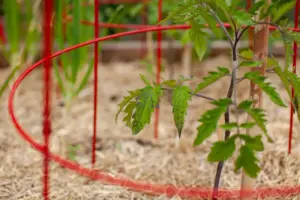
Building The Perfect Tomato Cage
My favourite plant in my edible garden is tomatoes! The challenge of supporting them as they grow tall and wild is not something I enjoy. Although I
School may be out for the summer, but today I’m sharing a cute little school of fish made using air dry clay. These fish are fun and easy to make! We decorated ours with stencils and colorful paint, but there are so many possibilities to decorate these!
These fish can be displayed in a variety of ways to fit your decor. Use them in a wall hanging, attach to a piece of driftwood to display on a shelf, or place one under a glass bell jar with a little greenery.
Table of Contents
Toggle
Roll out the air dry clay to a size big enough for your fish template, unless you are good enough to free hand it, which I wasn’t. The fish template I used was found on Google by searching free printable fish template. A butter knife was used to cut out the fish. Place fish on a sheet of wax paper and leave to dry for several days. Note: The thickness of the clay will determine the dry time.
This is what they looked like after they were dried. You can see in the below picture that the fish have some rough edges and some imperfections. I don’t have a lot of experience with working with the clay, but I found that using 220 fine grit sand paper smoothed them out nicely.
Here is what they looked like after a few minutes of sanding. I cleaned them off with a slightly damp paper towel to remove the sanding dust before stenciling.
I sanded them for a few more minutes, but I didn’t spend a lot of time on it. I used craft paint, foam paint stamps and stencils to add color to the fish.
A piece of cardboard was great to use for painting. Squeeze a small amount of each paint color, then using a paint stamp (not sure if this is what it is actually called, but they were great for stenciling and were purchased at Hobby Lobby). I dabbed a small amount of paint on the foam tip and then stamped it several times on the cardboard to remove most of the paint.
Here are closeups of the stenciled fish.
WALL HANGING:
To make a wall hanging, I used a piece of driftwood that we picked up on vacation last year. I spray painted a few wooden beads an aqua blue color and strung them on white cord. I tied knots above and below the beads to help keep them in place. The cord was wrapped around the piece of driftwood several times then the end was glued.
I first attached the fish with hot melt glue, but realized that it wouldn’t be strong enough to hold the fish. You can see a little of the glue residue on the back of these fish. Instead, I used E6000 glue to attach the cord to the back of each fish. I laid a piece of wax paper over the glued cord and set heavy books on top of them to hold the cord in place while the glue dried. I left it sit overnight, but they still needed another day to fully dry.
I screwed two picture hanging screws into the top of the driftwood and used the white cord to make a hanger which you can see in the photo below.
If the wall hanging is not your style, attach these fish to a base to display. I made a quick display base from a dowel rod I had left over from another project. I recommend using a larger width dowel rod than I did for stability, but I used what I had on hand. Cut 3 equal size pieces at least the length of the fish and glue together with E6000 glue. Attach the fish with the same glue. Allow to fully dry before displaying.
I used a smaller piece of driftwood for another base. Attach with E6000 glue.
I really love how these fish turned out and it really was easy. This project does take several days because of all the drying time of the clay and glue, but the actual “crafting time” was very quick and easy.
Thank you!

My favourite plant in my edible garden is tomatoes! The challenge of supporting them as they grow tall and wild is not something I enjoy. Although I
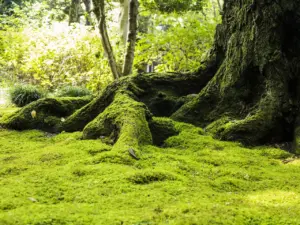
You can recreate the special feeling you get when walking through a forest covered in moss right in your backyard. This week’s guest, moss expert Annie
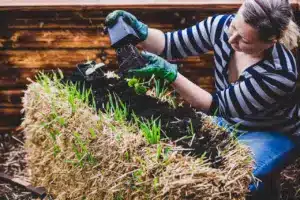
More people than ever feel drawn to gardening because of all the turmoil in our world these past few weeks. Growing your healthy food can be
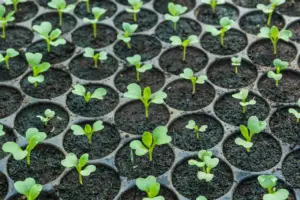
Indoors about a month before my beds are ready for the season. It also gives me a glimpse of what is to come. This week, I
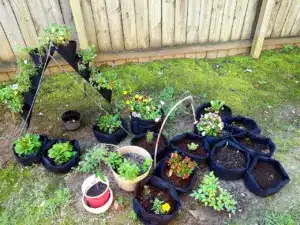
Grow bags can be a great solution for gardeners with limited space. However, grow bags have many benefits that are available to all gardeners. I will
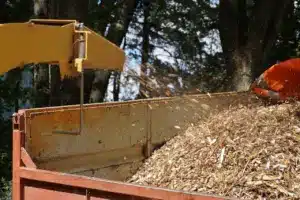
In my raised vegetable beds, I use mulch every time. When asked about my favorite type of mulch, I admit that I do not stick with