HOW TO MAKE YOUR OWN CINCO DE MAYO LIKE STARS

Mexico is home to so many talented metal artists who create amazing embossed metal art, works out of tin, and some stunning jewelry too.    In honor of the upcoming cinco de mayo, I thought I’d share a Mexican inspired project with you today.

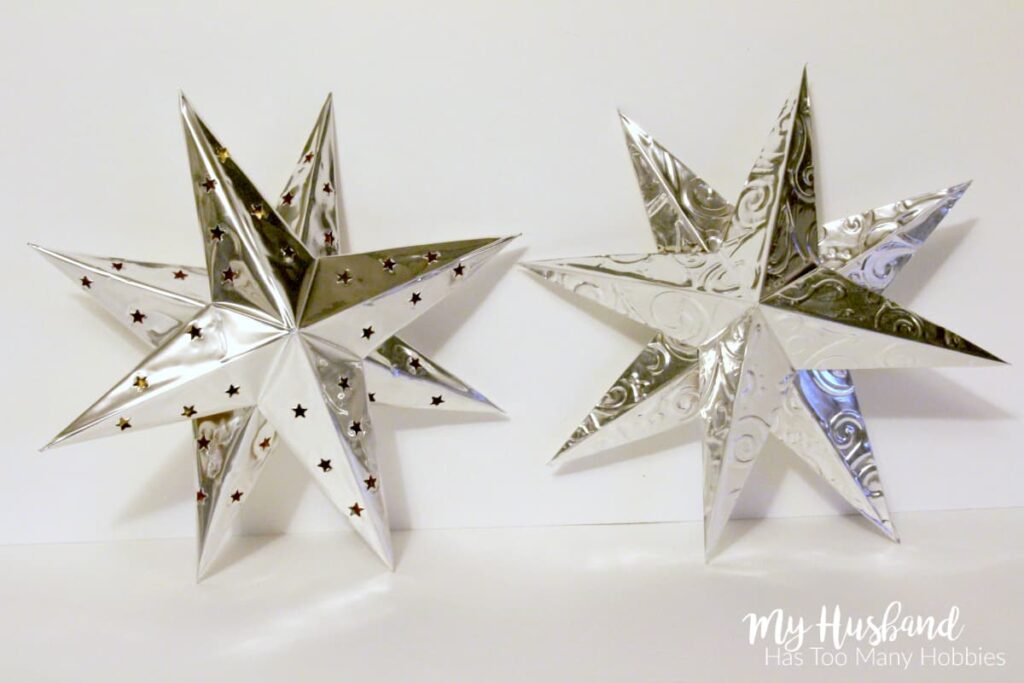
I will show you how you can easily make beautiful Tin-Like Stars using aluminium embossing foil.

I know that some of you are not interested in using metal for crafting.  No worries.  These same steps can be used to create these stars using metallic paper or a thin piece of cardboard from a cereal box that you can spray paint.
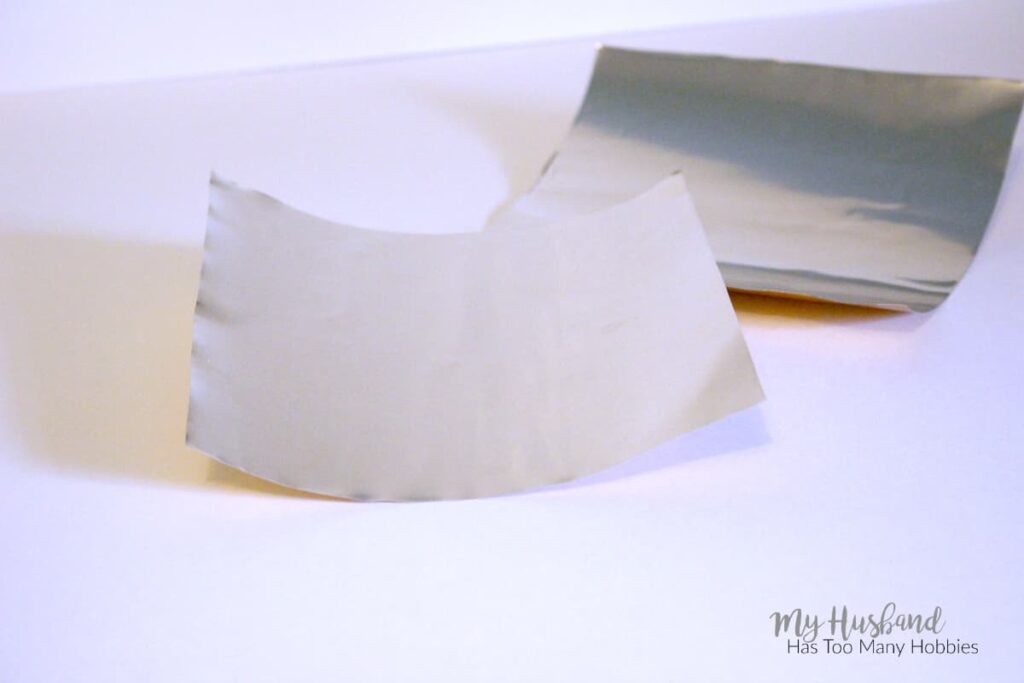
Tin-Like Stars 1
For this project you will need:
 
Metal Embossing Foil in 6×6 inch squares.  Two squares required for each star.
Soft embossing mat  (a magazine or stack of newspaper can be used as a substitute)
Scissors
Teflon embossing stylist   (a pencil can be used as a substitute)
12 inch ruler
Optional:  Star Punch,  stencil and paper stump
Duck Tape
Tin-Like Stars 2
It will be important to know which side of your project you are working on.  If you have metal that is all one color, put a small sticker or piece of tape on one side so you can quickly tell the difference between front and back.  If you are using something other than metal to create these stars, the whole front/back issue really doesn’t matter. 
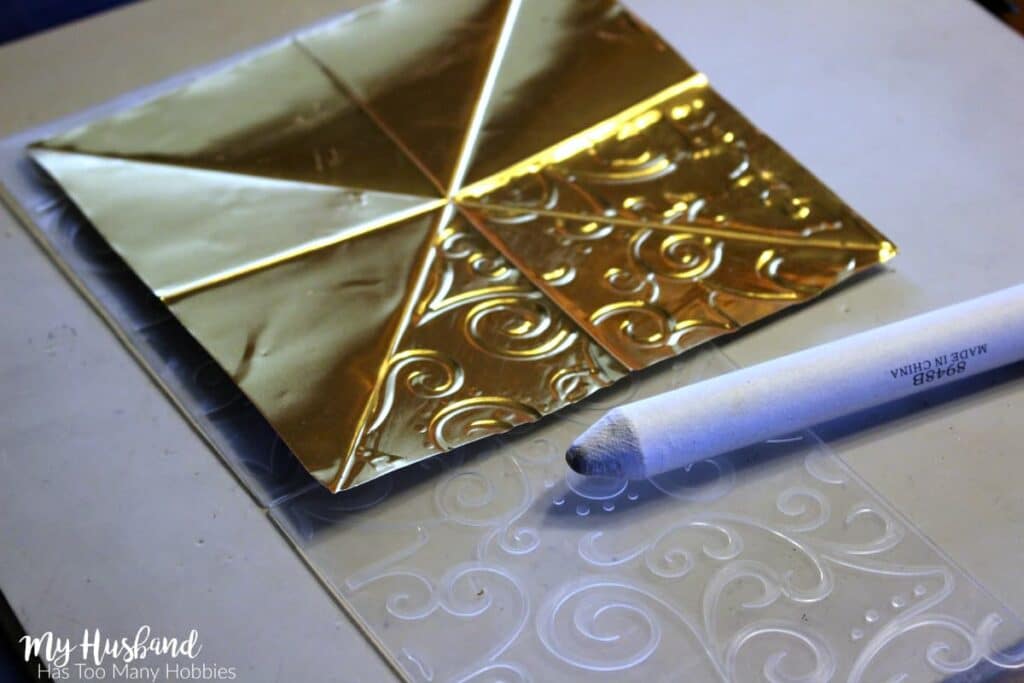
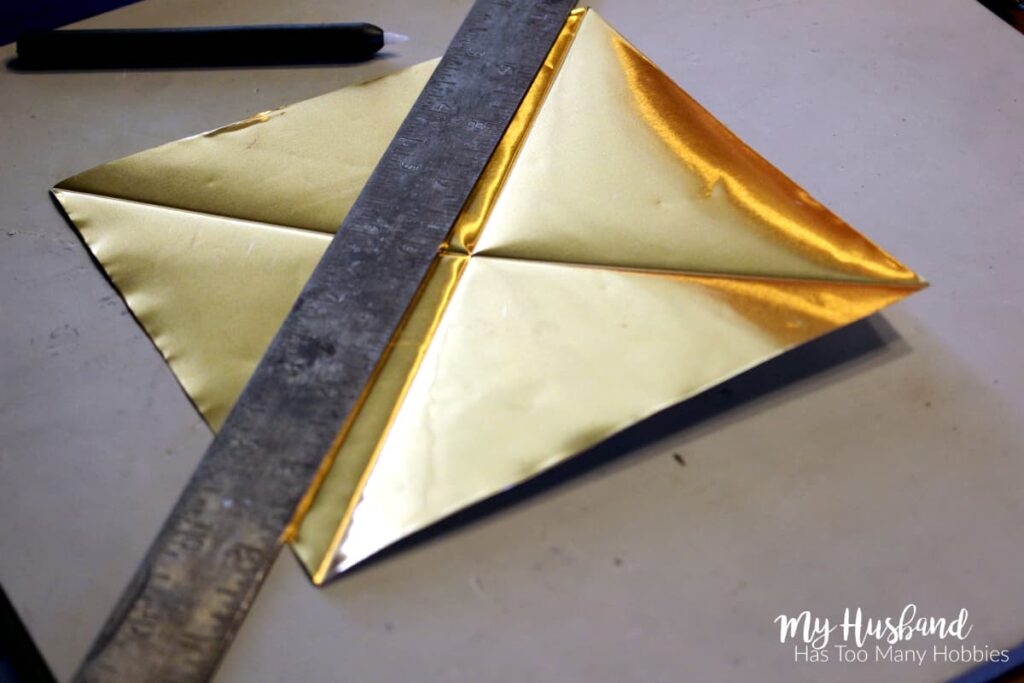
Place a 6×6 inch piece of metal front side down on a soft surface mat.  Using a ruler and Teflon embossing stylist, score a line from diagonal corners forming an X on the metal. 
 
Note:  If you are using paper or cardboard, the score lines shown in these pictures are just fold lines. There is no need to score a line – just fold.    
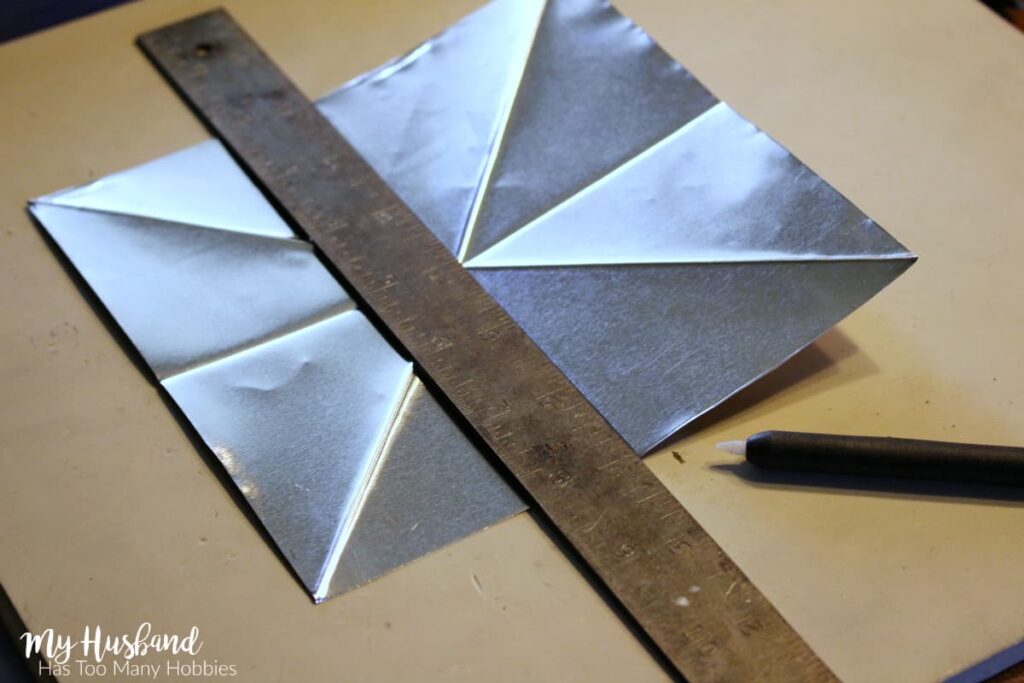
Tin-Like Stars 3
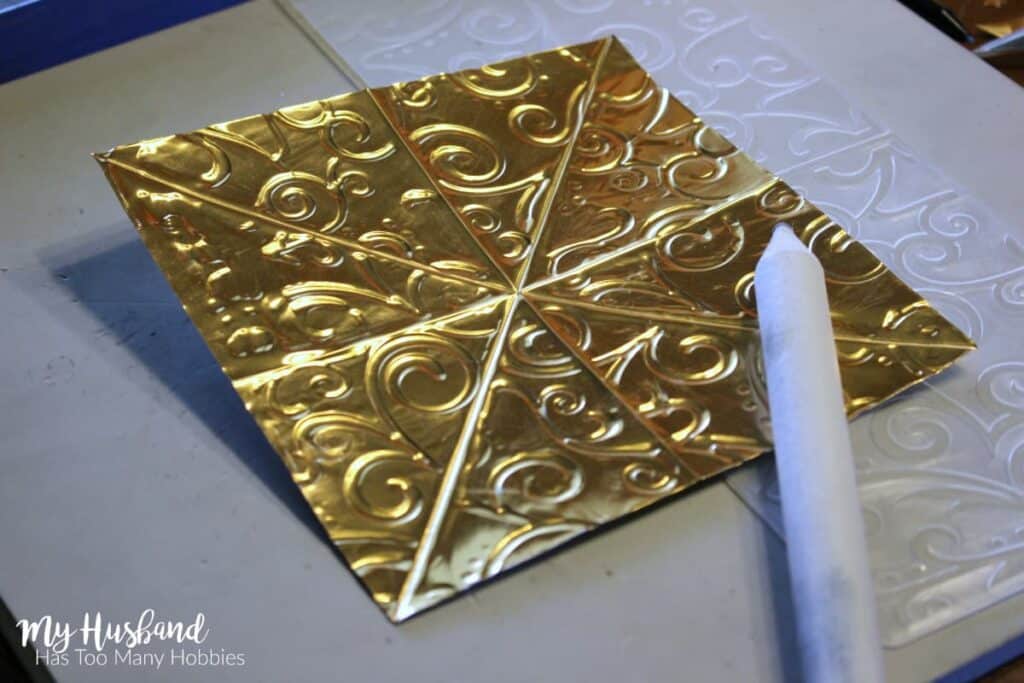
Turn the metal over so that the front side is facing up on your soft surface mat.  Using the ruler and Teflon stylist, draw a line from side to side to form a T or cross on the metal.   
Tin-Like Stars 4
Optional:  To decorate the star, you can use a stencil and paper stump.  Place a section on the metal, back side up on a stencil and rub with the paper stump to easily pattern the metal.  I used an embossing folder type stencil that is commonly used in paper crafting.  
Tin-Like Stars 5
Rubbing the pattern on with the stencil didn’t take more than 10 minutes.  The simpler the stencil pattern, the faster it is to rub over.  
Tin-Like Star 6
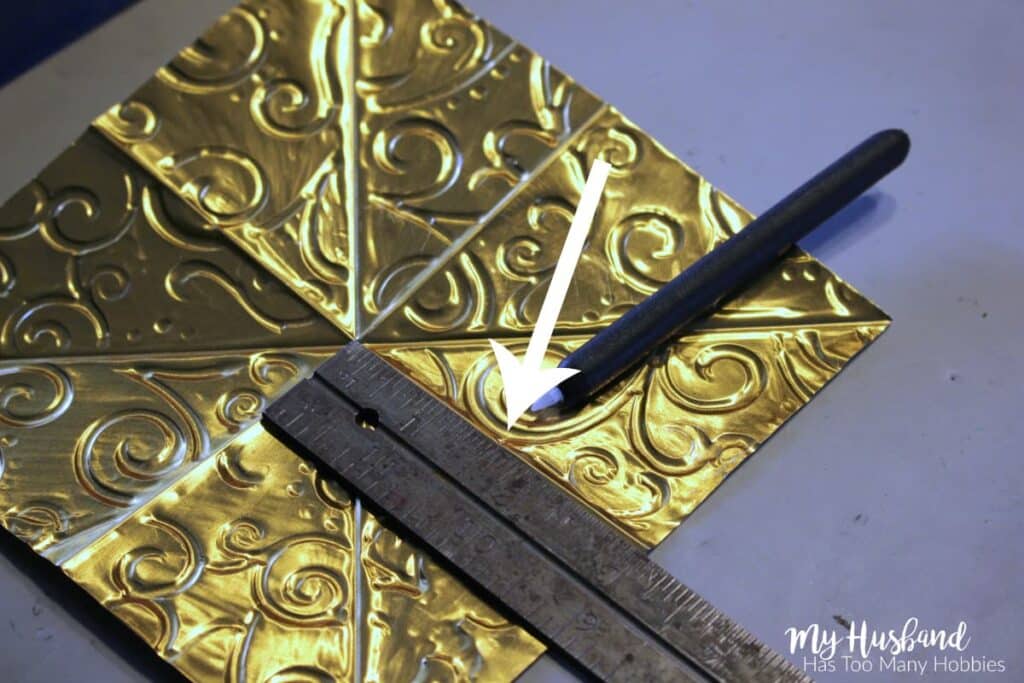
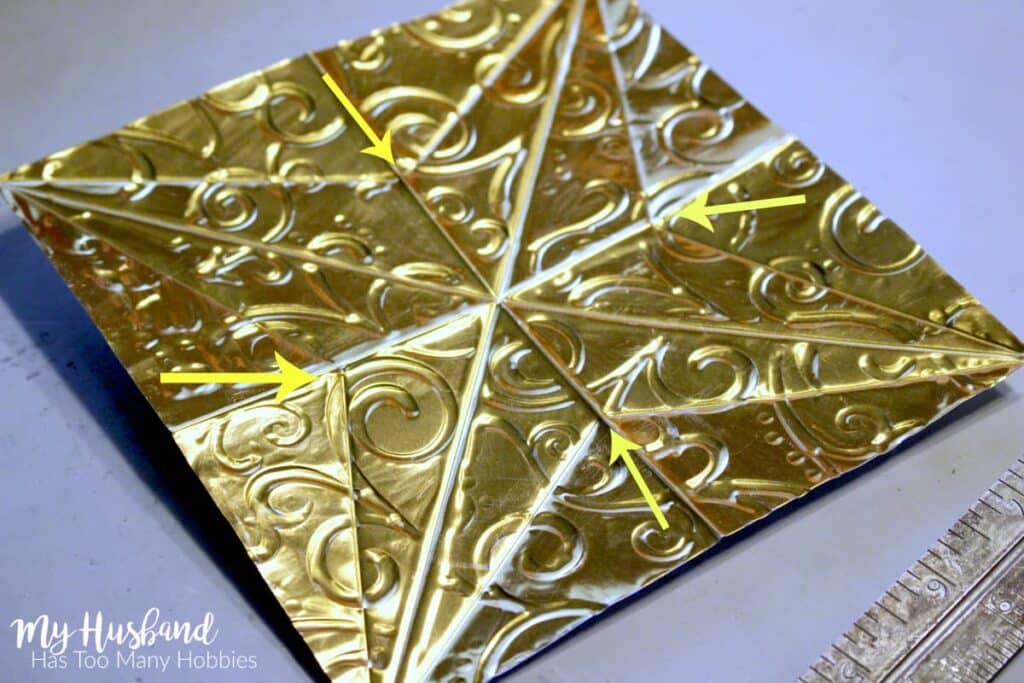
Still working with the back of the metal face up, use the ruler to measure 1-1/2 inch from the edge toward the center, or from the center to the end.   The arrow shows where I put a small mark with my Teflon stylist.  
Tin-Like Star 7
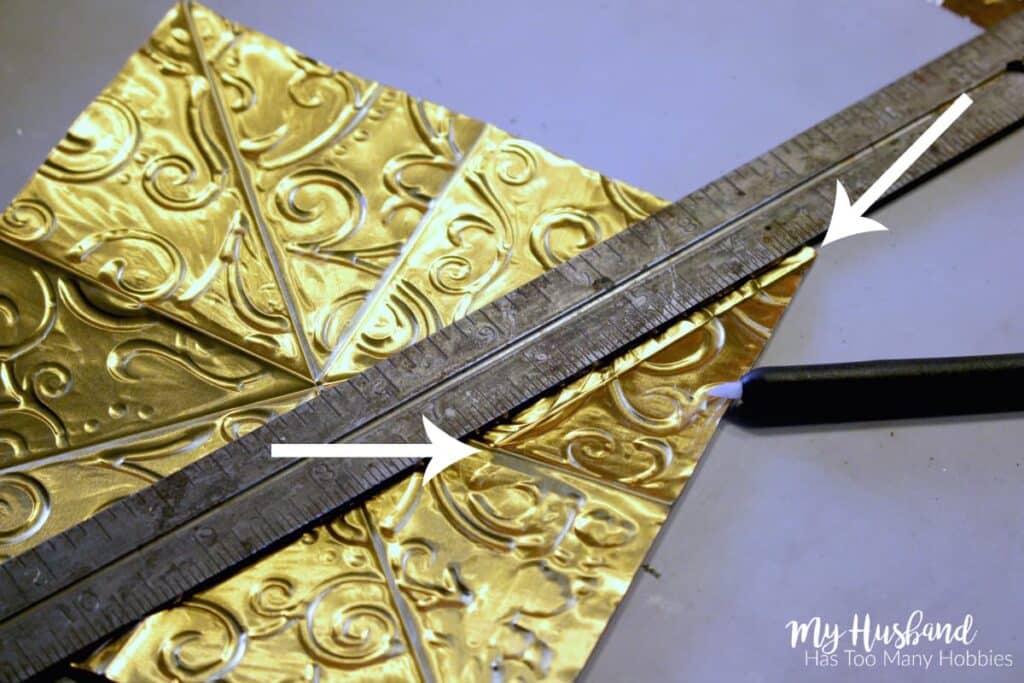
Using the ruler and Teflon stylist, I scored a line on the back side of the metal from the corner to the half way mark of a quarter section.  
Tin-Like Star 8
Working your way around to each quarter section,  mark and score a line from the corner to the mark you make.  Wen you are finished, you should be able to see the outline of the star pattern on the metal.  
Tin-Like Star 9
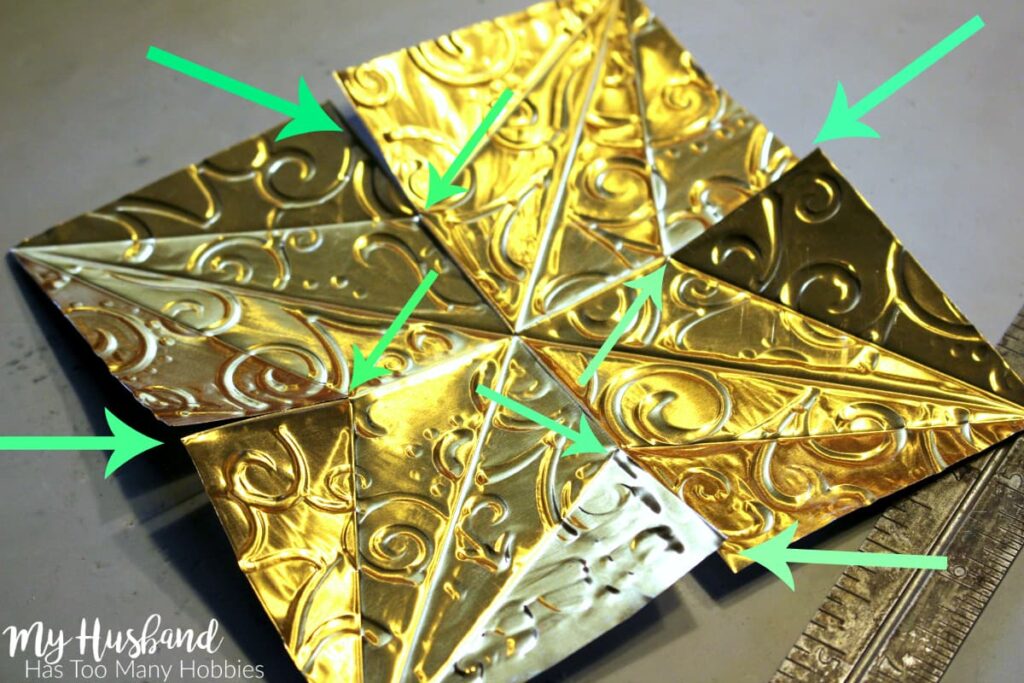
Take scissors and cut the center line on each side up to the point where the two quarter sections meet.  You should have one – 1-1/2 inch cut on each side of the square.  
Tin-Like Star 10
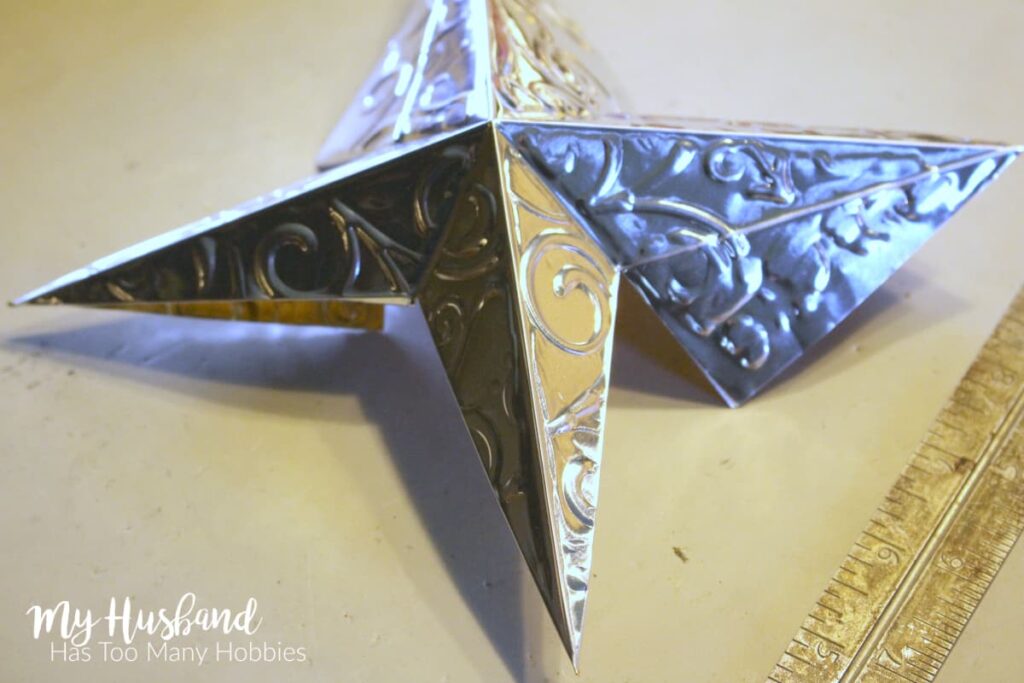
Turn the star over so the front is facing up.  Fold down the diagonal sides first.
Tin-Like Star 11
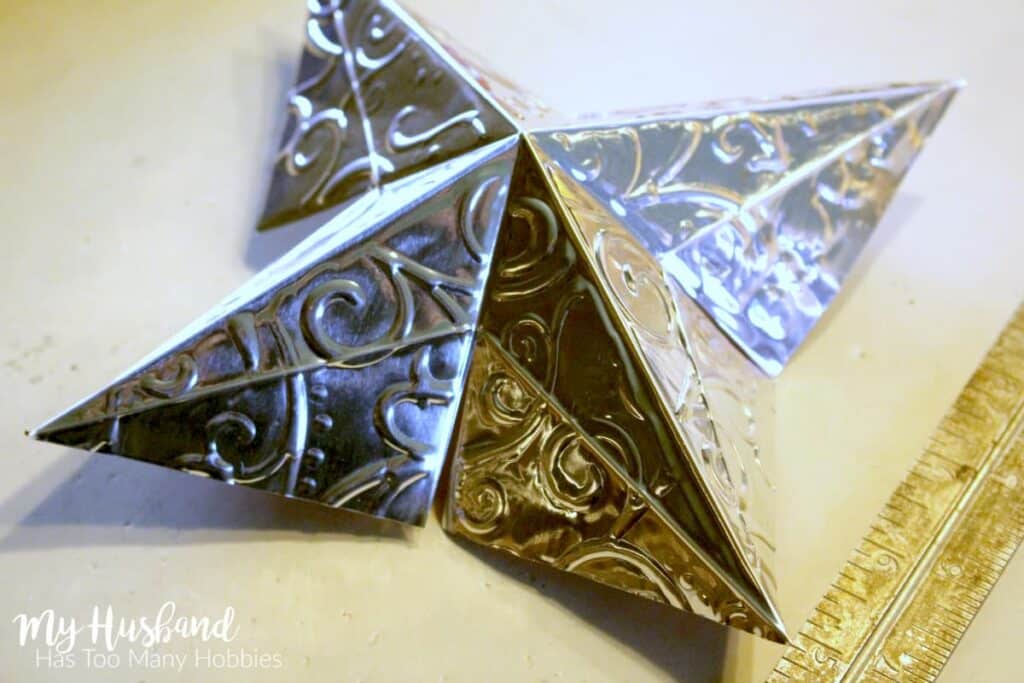
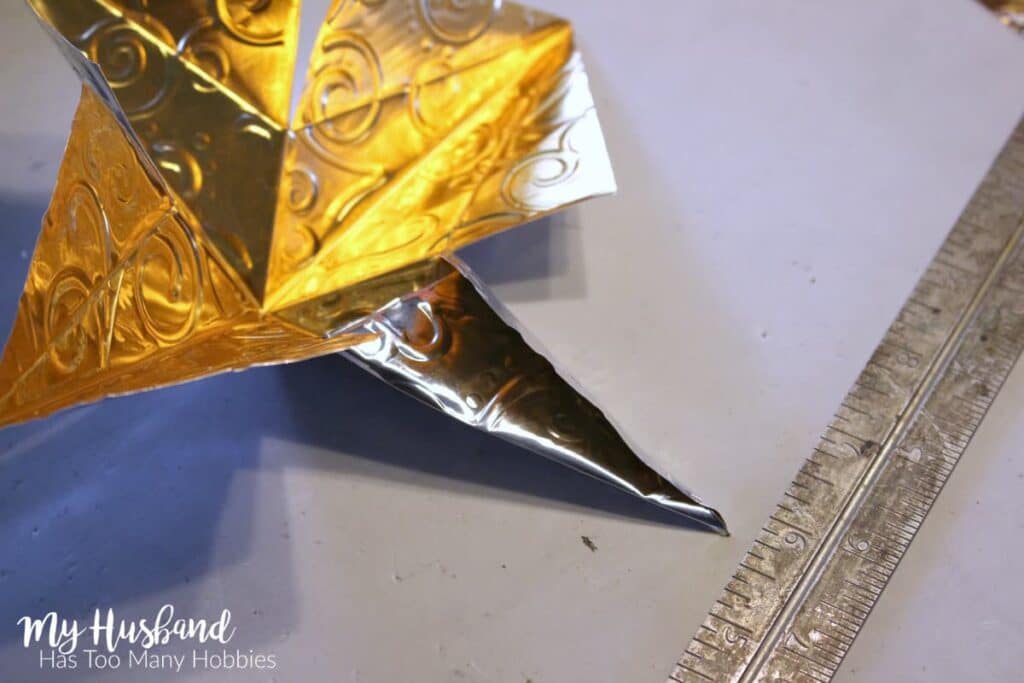
Next fold under the flaps to form one point of the star.  Then do the same to the other 4 points.
Tin-Like Star 12
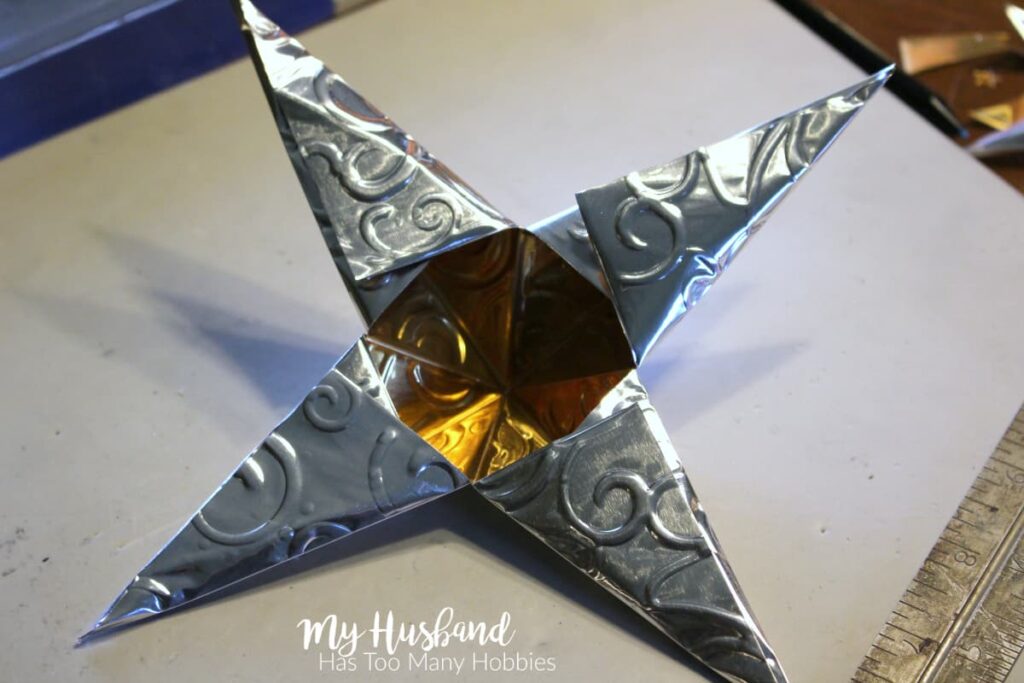
When all points are finished, this is what the underside of the star should look like.
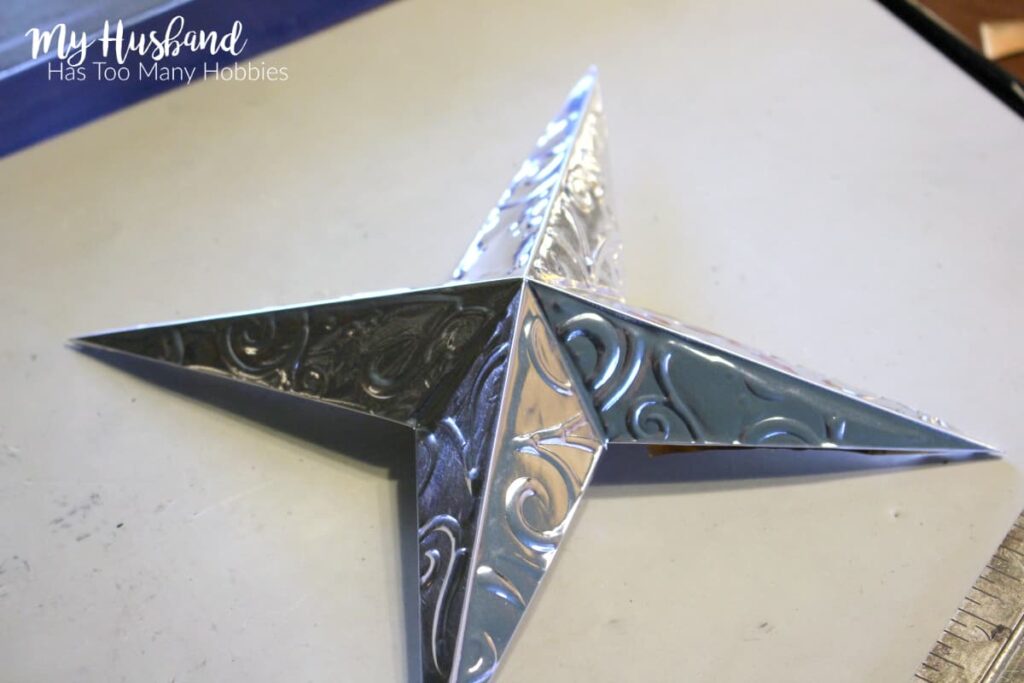
Tin-Like Star 13
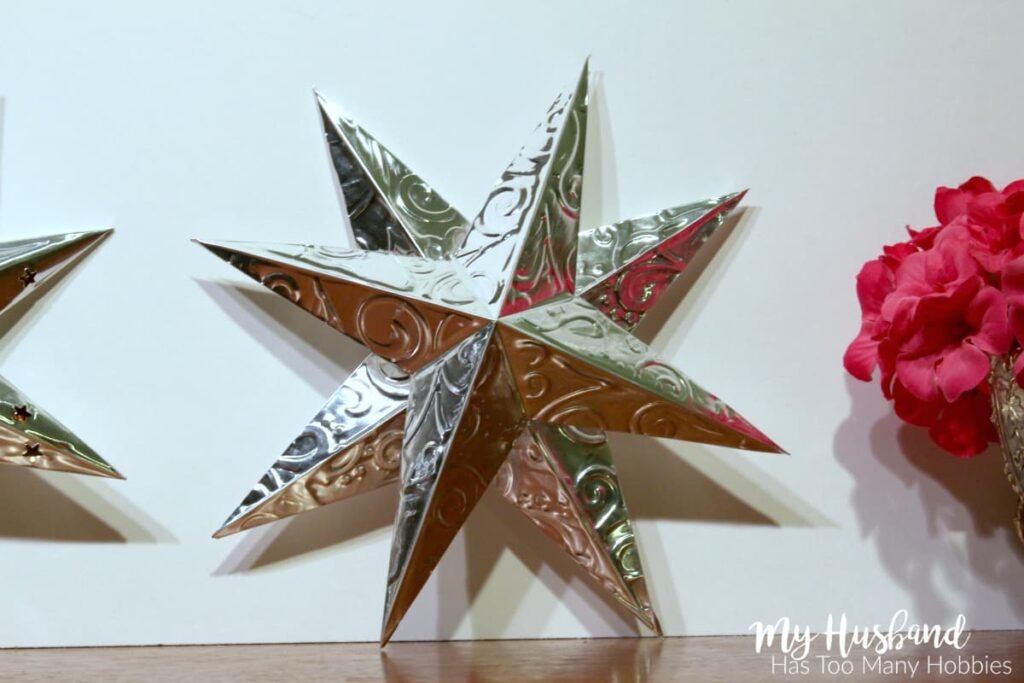
This is what the top side of the star looks like.  
 
Now make a 2nd one following the same steps.  
Tin-Like Star 14
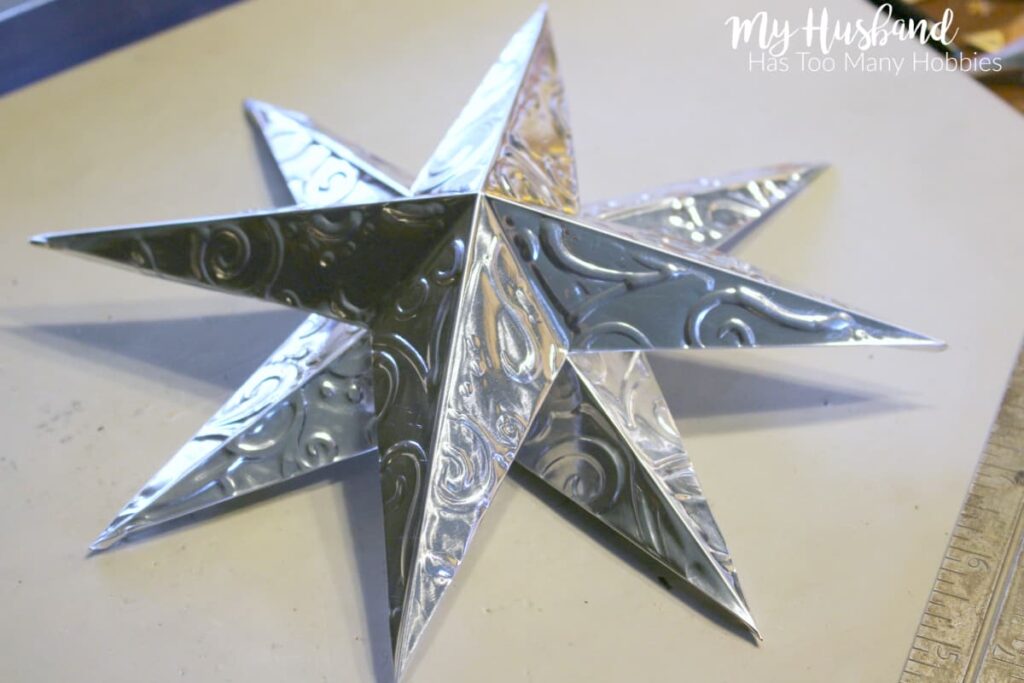
When the two star pieces are finished, one piece will sit on top of the other to form the 8 point star.  I realized that because of the opening in the back of each star piece,  it was going to be difficult to glue this together because there is not a lot of surface area to apply the glue to. 
 
To solve this problem, I cut a piece of duct tape and rolled it into a  large circle, sticky side out, and I put it in the hole in the back of the top star piece and stuck it to the bottom star piece to hold them together.  It worked like a charm.
Tin-Like Star 15
The second star was made using a star hole punch instead of using the stencil.  
Tin-Like Stars 16

These were fun to make and they look great.  Add a string to hang them, attach them to a board and frame, or just display like I did.  

If you enjoyed this project, we’d appreciate if you’d pin it.  Thanks for sharing!
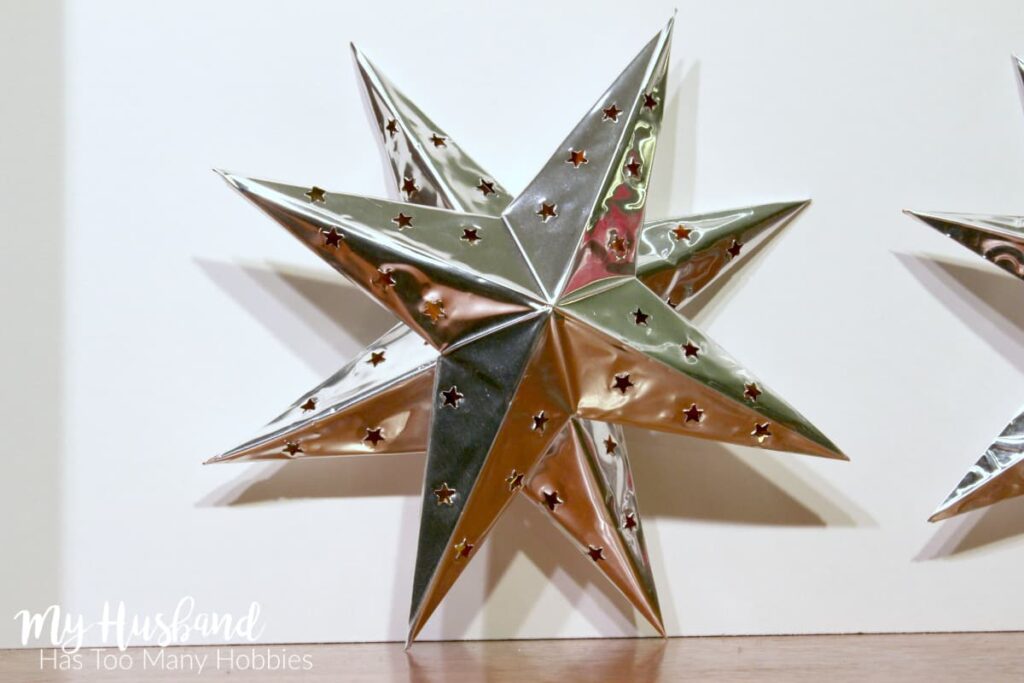
Tin-Like Stars 20
Growing Your Own Lettuce
Gardening
Garden Care Team

Growing Your Own Lettuce

Growing Your Own Lettuce: A Guide to a Healthy Harvest Lettuce has become a common ingredient in kitchens all over the world. Lettuceki is a staple in

Read More »
How to Grow Ginger at Home
Gardening
Garden Care Team

How to Grow Ginger at Home

How to Grow Ginger at Home – A Guide to Homegrown Fresh Ginger Ginger is an essential ingredient in Indian cuisine, and it’s known for

Read More »

Back to top button