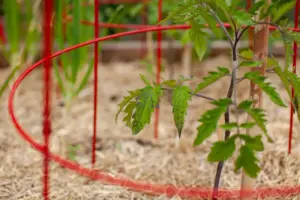
Building The Perfect Tomato Cage
My favourite plant in my edible garden is tomatoes! The challenge of supporting them as they grow tall and wild is not something I enjoy. Although I
Today I have a cute little craft using very simple hand embossing on copper and aluminium tooling foil that creates a beautiful more rustic look for spring with these Copper and Aluminium embossed flowers. I have these beauties in my kitchen, but they would look great anywhere, even outside.
Table of Contents
ToggleInfo on Metal Used: People have asked me if the metal I use has sharp edges. This tooling metal (38 gauge) is pretty soft and pliable. It cuts easily with ordinary household scissors and is slightly thicker than a disposable tin foil backing pan. As long as your cut edges are clean, you shouldn’t have any issues handling the metal. Don’t get me wrong, if you rub the side of the metal in just the wrong way, you will get cut, just like you would with paper and the resulting paper cut.

My favourite plant in my edible garden is tomatoes! The challenge of supporting them as they grow tall and wild is not something I enjoy. Although I

You can recreate the special feeling you get when walking through a forest covered in moss right in your backyard. This week’s guest, moss expert Annie
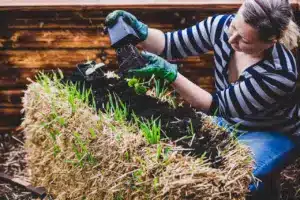
More people than ever feel drawn to gardening because of all the turmoil in our world these past few weeks. Growing your healthy food can be
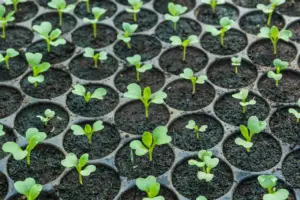
Indoors about a month before my beds are ready for the season. It also gives me a glimpse of what is to come. This week, I
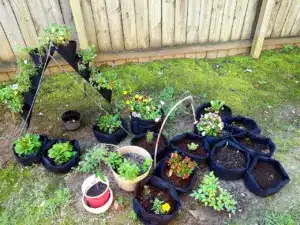
Grow bags can be a great solution for gardeners with limited space. However, grow bags have many benefits that are available to all gardeners. I will
In my raised vegetable beds, I use mulch every time. When asked about my favorite type of mulch, I admit that I do not stick with