
How to Grow Mushrooms
How to Grow Mushrooms – A Complete Guide for Cultivating Mushrooms in Your Home Growing mushrooms can be a rewarding and satisfying experience. If you are
The DIY Strip Canoe project continues with the addition of the gunnels. The Gunnels, also known as gunwales are the trim pieces that line the top edge of the canoe opening.
There are evidently several ways to add the gunnels. Who knew? The recommended way is to attach the gunnels with screws. Mr. Hobby was not a fan of that method so he came up with his own plan.
Table of Contents
ToggleTo make the gunnels, he needed very long strips of wood that would span one side of the canoe from front to back. In order to have a piece long enough to do this, a scarf joint was cut on two strips of walnut that were then glued together. A scarf cut gives a lot of surface area for gluing two pieces together, thus making a stronger joint.
Four long strips are needed, two for each side of the canoe.
In the picture above, you can see two of these strips are used to sandwich either side of the top edge of the canoe. To attach them, Mr. Hobby used a biscuit joiner with biscuits and epoxy.
You can see the strips overhanging the front of the canoe in the picture above. They will eventually be trimmed
The strips of walnut start out straight, but they need to bend along with the curve of the canoe. Mr. Hobby used heat applied to the wood to bend it before attaching.
The outside of the canoe in the below picture shows the film of dust left from the multiple sandings.
Wow, look at the amount of clamps that were used to hold the gunnel in place while the epoxy dried on just one side of the canoe! I think just about every clamp Mr. Hobby owns is being used to hold the strips in place.
Wax paper was used to keep the clamps from sticking to the epoxy and canoe.
In the above picture, you can see a strip of walnut lying across the top of the canoe. This is one of the gunnel pieces that will be used for the other side.
Because the weather has finally warmed up, the canoe was moved from our basement into the garage for the finish work. The canoe is amazingly light which made it very easy to move. This is exactly what Mr. Hobby wanted. He will have no trouble carrying the canoe over land to water on his own.
In the above picture, Mr. Hobby inserted braces in the interior of the canoe to help maintain the shape while the gunnel work is being completed.
To finish off the gunnel, Mr. Hobby cut a thin piece of walnut that will “cap” the sandwiched gunnel strips. This strip needs to bend with the curve of the canoe as well, so heat was applied to help with the bending of the wood.
In the picture below, you can see that he is starting to clamp the thin cap strip along the top edge.
Epoxy is messy stuff. There are several areas of drips that will need to be sanded away eventually. These steps will need to be repeated for the gunnel on the opposite side of the canoe.
Coming up next, Mr. Hobby will build and attach the decks, thwarts/yoke and seats!
Thank you!

How to Grow Mushrooms – A Complete Guide for Cultivating Mushrooms in Your Home Growing mushrooms can be a rewarding and satisfying experience. If you are
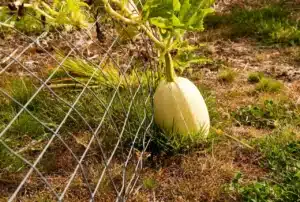
The Complete Guide to Growing Spaghetti Squash: From Seed to Harvest Spaghetti squash is a nutritious and delicious winter squash that’s growing in popularity, particularly
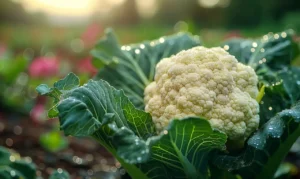
Cauliflower Growing Guide: Comprehensive Guide for Success Cauliflower can be used to elevate any dish. It is highly nutritious, versatile and delicious. Cauliflower can be used
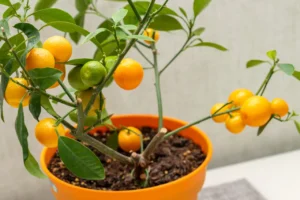
The Joy and Pain of Growing Citrus Indoors I’ve often been asked about growing citrus indoors or how to cultivate citrus in containers, and while

How to Grow Zaluzianskya Capensis, Night Phlox I can still remember the first time I came across the name Zaluzianskya trying to pronounce it silently
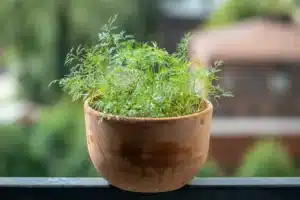
Grow Your Own Dill: A Complete Guide to Cultivating this Aromatic Herb at Home If there’s one herb that perfectly balances aromatic and tangy flavors,