I’m not much of a cake decorator, in fact, I haven’t done much more than ice a cake and maybe add a few sprinkles, so I had no illusions that my Easter Egg cakes would look as professional. For my trial run, I purchased a Sara Lee Pound Cake, a tub of pink icing and a tube of white decorating icing.
The directions stated to set the cake out for about 10 minutes so it will start to thaw. So I did that while I gathered a few other supplies. I used a Pyrex measuring cup, a small spatula, a cookie sheet, a knife and an egg cookie cutter. I removed the cake from the container and set it on a cookie sheet. I cut the top off the cake to level it as best I could. Easy enough so far.
Then I ran into my first issue. Not really a big deal for this trial run, but still something you would need to consider before attempting this project. My egg cookie cutter was really too big. A cookie cutter about half the size would have been much better. With my large cookie cutter I was able to barely cut 6 egg cakes total. I guess we like big cookies around here.
The cookie cutter was so large, that my eggs cakes turned out a little misshapen. I think with a small cookie cutter you could probably get at least 10 egg cakes, maybe 12.
Okay, this next part I was a little skeptical about. You take the icing and heat it in the microwave for 10 seconds, stir and then heat for another 10 seconds then pour over the cakes.
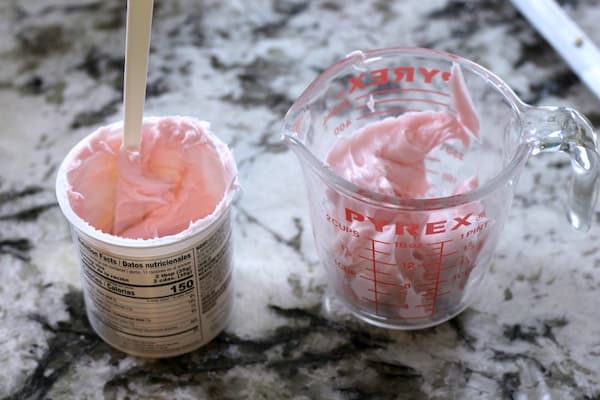
I started with 1/2 of the container of icing in a Pyrex measuring cup and put it in the microwave for 10 seconds, stirred and then 10 more seconds. Maybe microwaves are a little different, but I didn’t think the icing was melted enough, so I gave it an additional 10 seconds – and that was perfect. I figured the measuring cup would make it easy to pour the icing.
Pour the icing over the cakes . . .
Well, this was the biggest challenge. As you can see, I didn’t do the best job at this. But I learned a thing or two for next time:
- Pour as close as you can along the outer edges first so the icing can run down the sides and then work from the middle to the edges. This would help to get better side coverage and a smoother top.
- If the icing starts to harden, pop it back in the microwave – because runny is better.
One tub of icing was more than enough to cover all my cakes with plenty to spare, so even if I had 12 smaller cakes, I think one tub of icing would be sufficient. You may have to scrape off the run-off icing to use, but that would be easy enough to do and then just reheat.
Let the cakes sit for a while to set. I let them sit for about 15 minutes. Keep in mind that this is cake icing and it is not going to harden to a shell. If you touch it, it will dent, even after it has set.
I used a knife to cut around the base of the cakes because of the excess icing and used a spatula to move them onto flattened cupcake liners.


