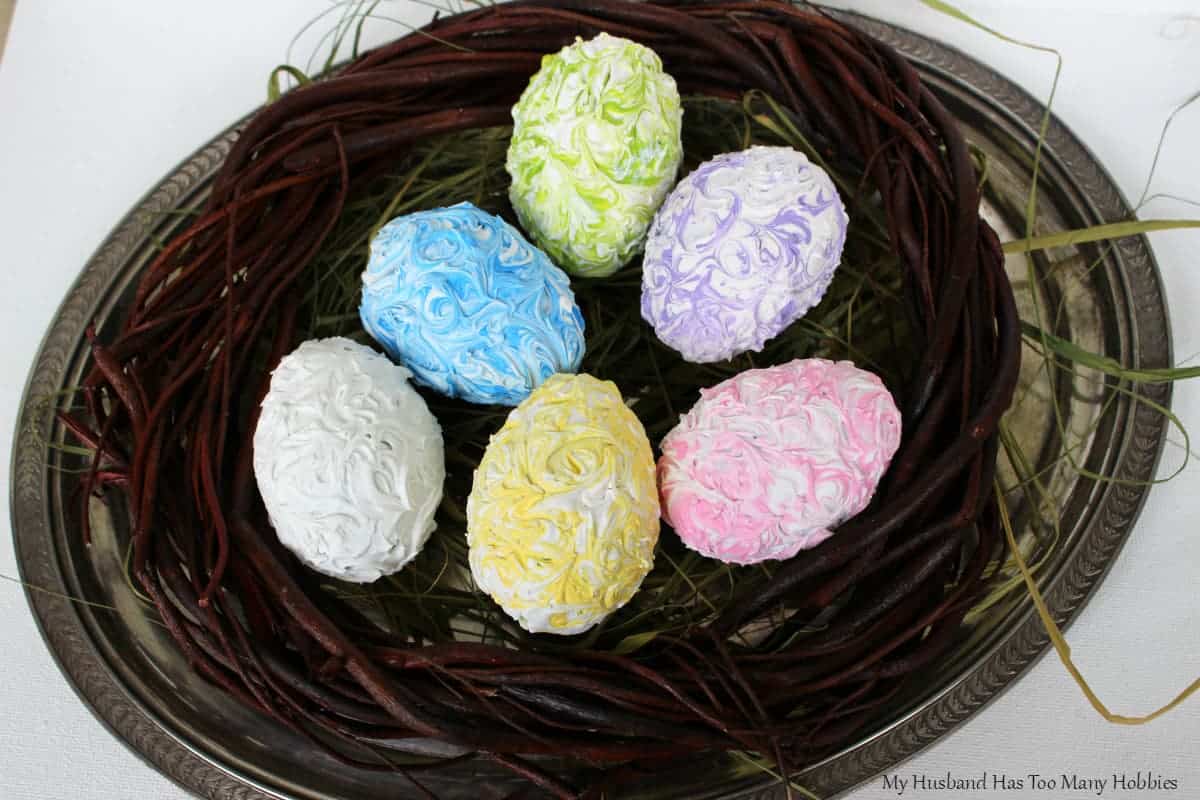
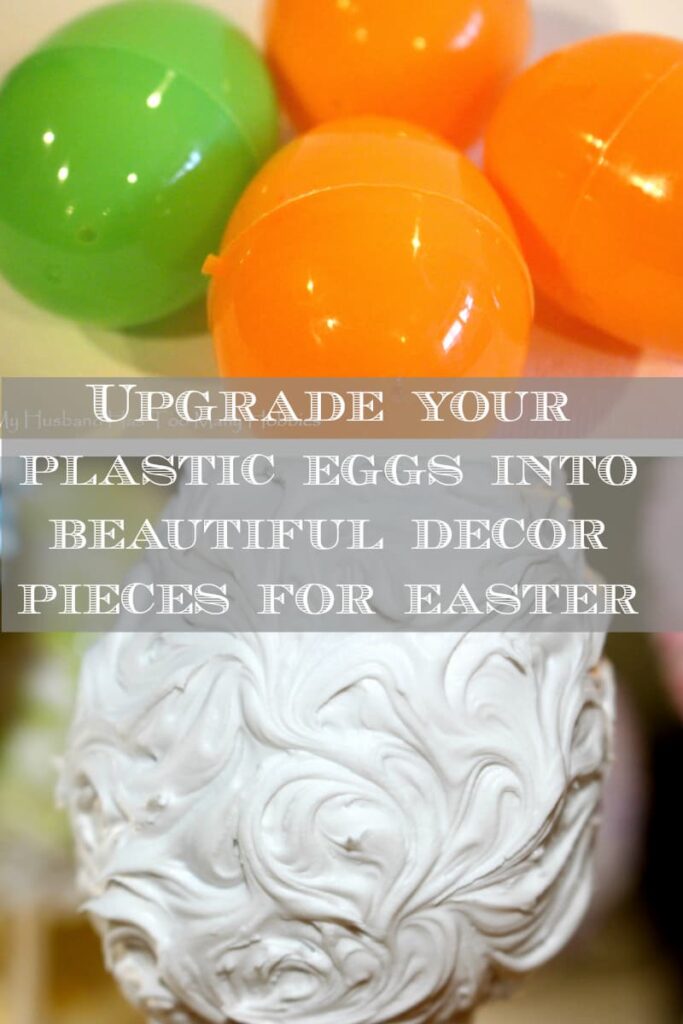
With my children being older, the traditional dying of hard-boiled eggs has passed. However, I still love having a few decorated eggs for Easter. This year I wanted to come up with a unique way to decorate eggs to compliment my Easter decor that was quick and easy but also had a more elegant look. These Elegant Easter Eggs are unique and make a beautiful display. Take your egg decorating to a whole new level!
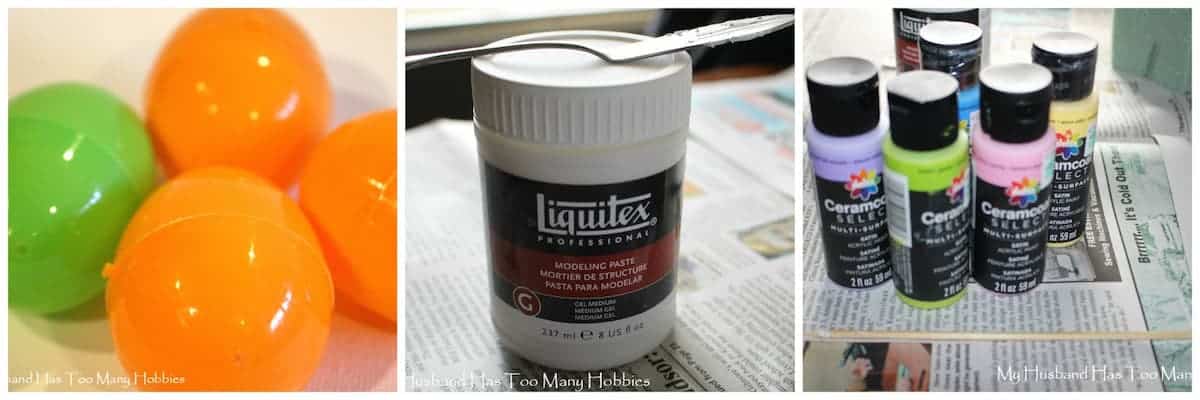
Supplies Used:
- plastic eggs
- Liquitex Modeling Paste
- assorted craft paints
- bamboo skewers
- floral foam
- butter knife
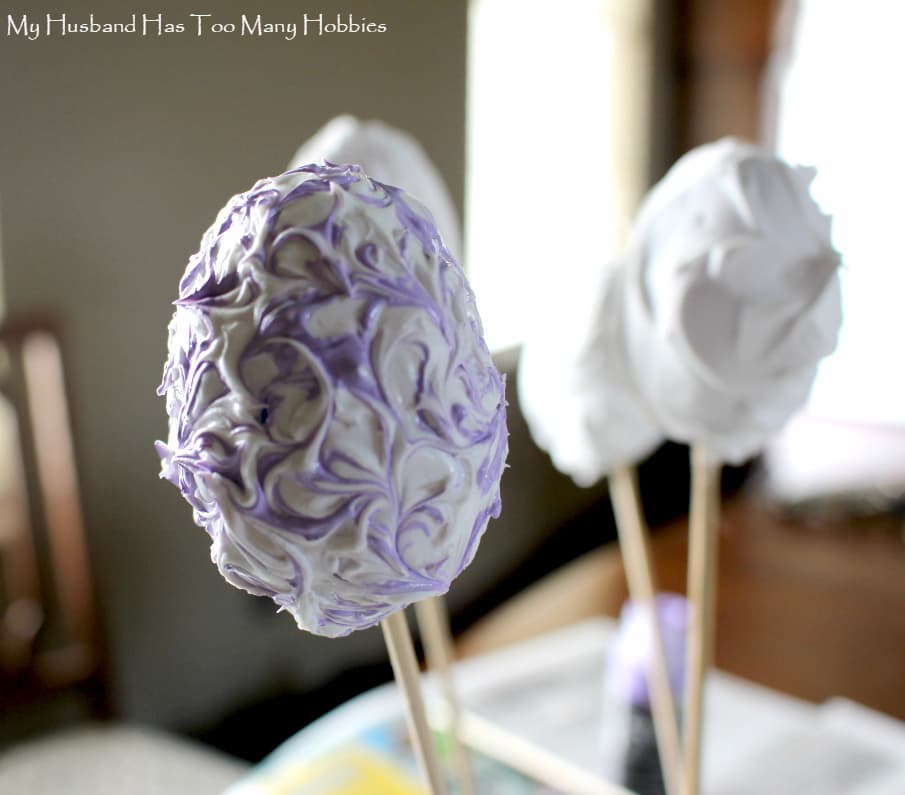
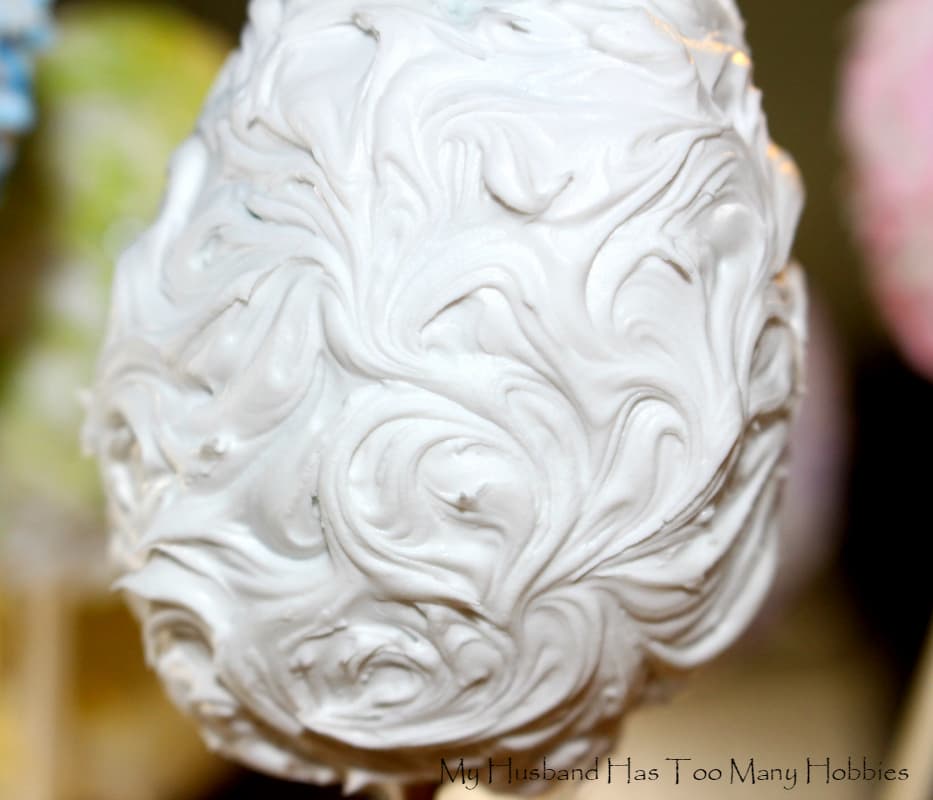
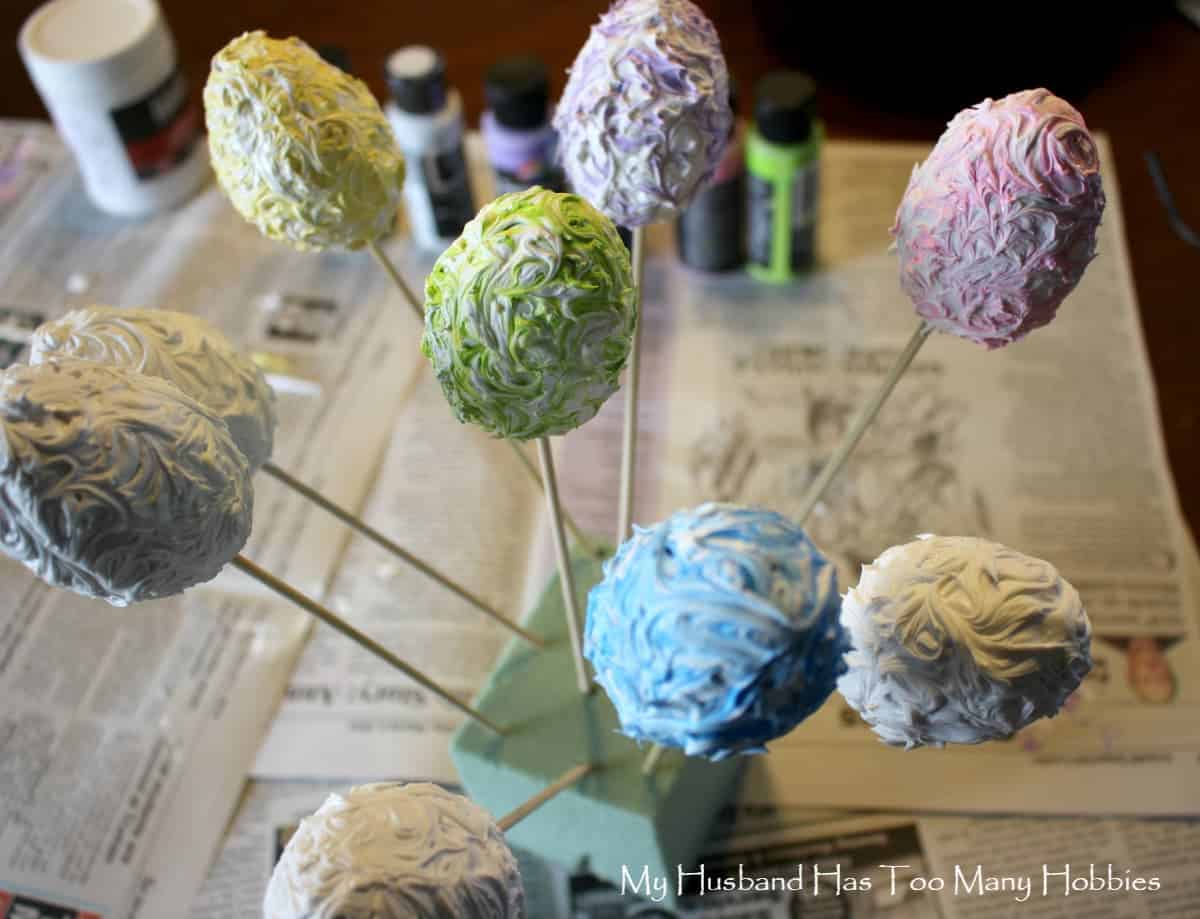
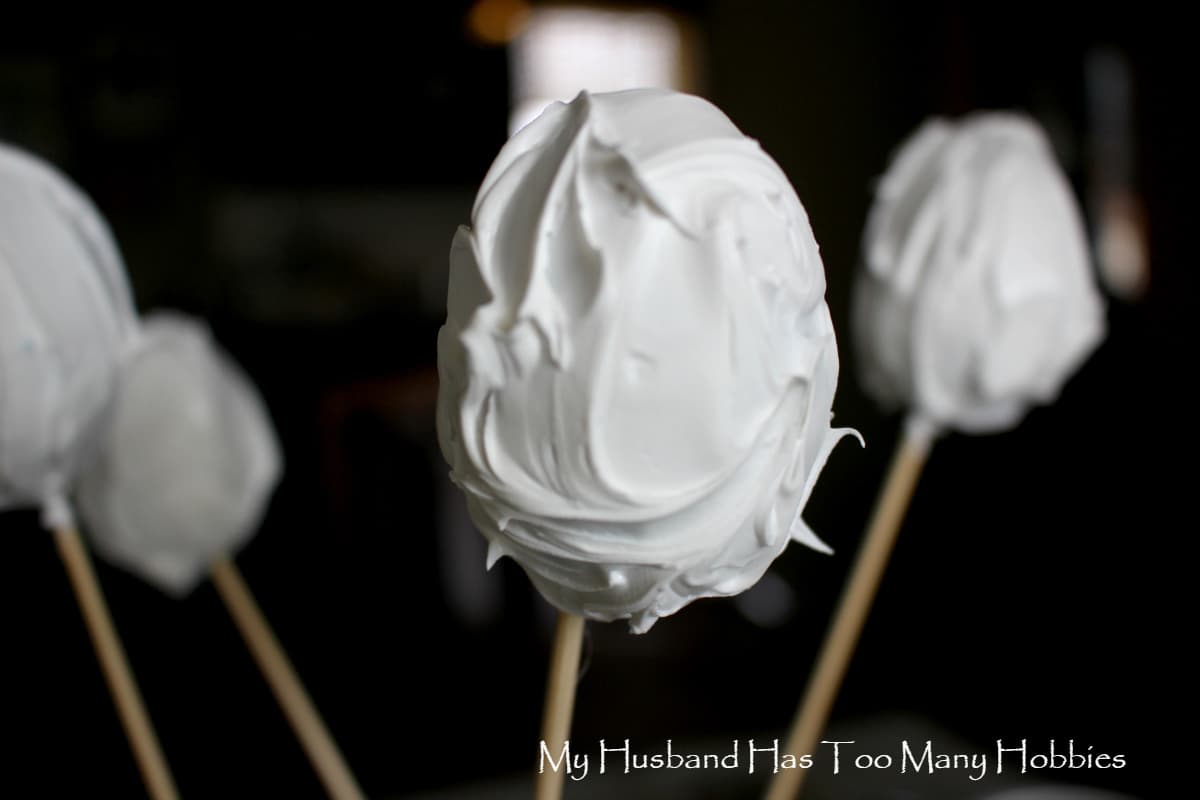
I inserted a bamboo skewer into the bottom of each plastic egg. The eggs already had a few small holes in the bottom, so it was easy to insert the skewer with a gentle pressure. I frosted each egg with a thick layer of the modeling paste using a butter knife and inserted the skewers into a piece of floral foam.
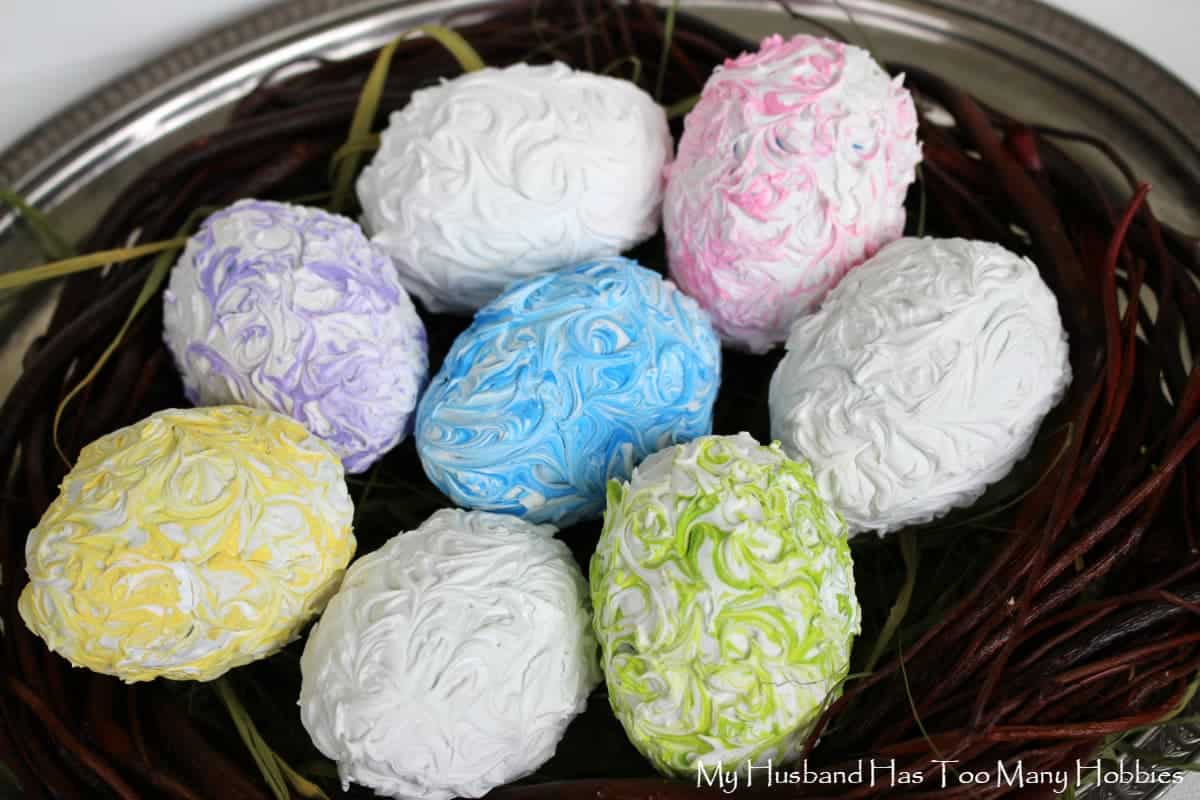
I dipped the sharp point of a bamboo skewer into the craft paint and then swirled the color onto the wet egg – like I was putting a swirl design on a frosted cake.
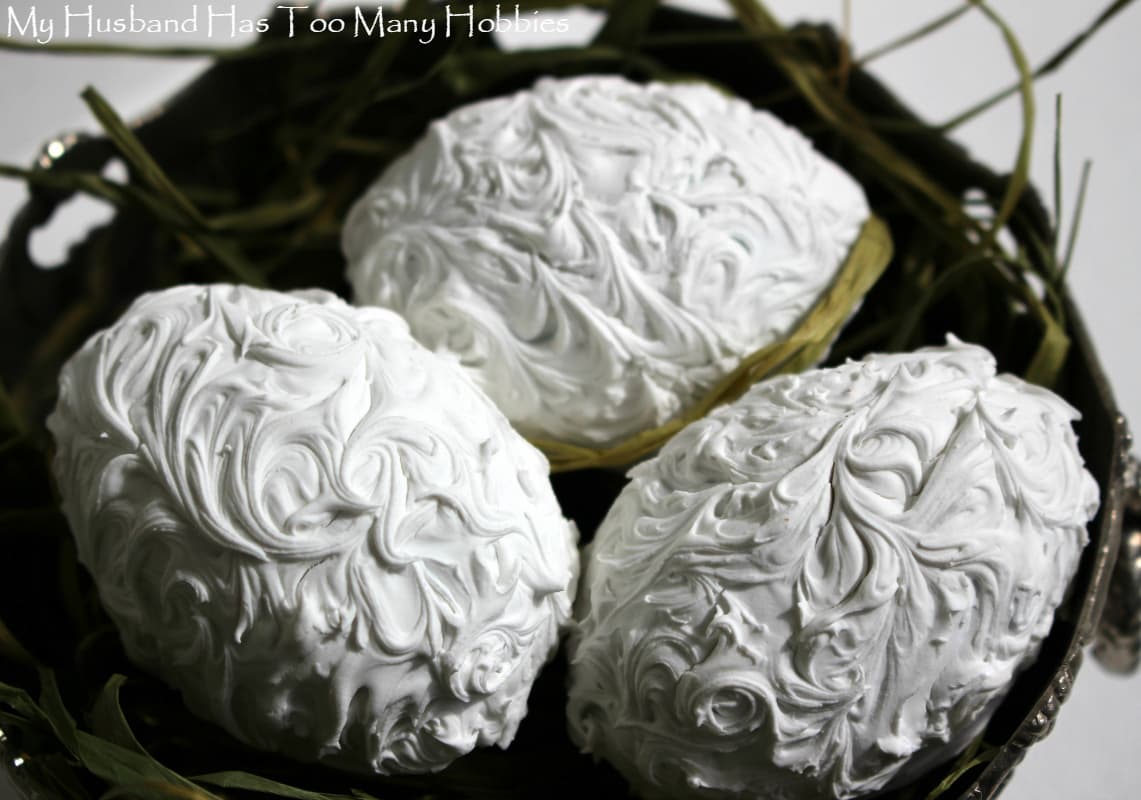
Some of the eggs I left were white, so I just swirled the molding paste using the tip of a bamboo skewer.
You want to put the pattern/color on the eggs within a half hour or the paste starts to harden.
Frosting the eggs and applying the color/pattern doesn’t take long. I had finished all of my eggs in about a half hour. Leave them to dry and harden overnight.
The skewers were not difficult to remove, I just twisted and pulled them out. You could use a little molding paste to cover the holes left by the skewer – and allow it to dry.
The eggs can be lightly sanded if you want. I had a few high peaks that I sanded down with fine-grit sandpaper.
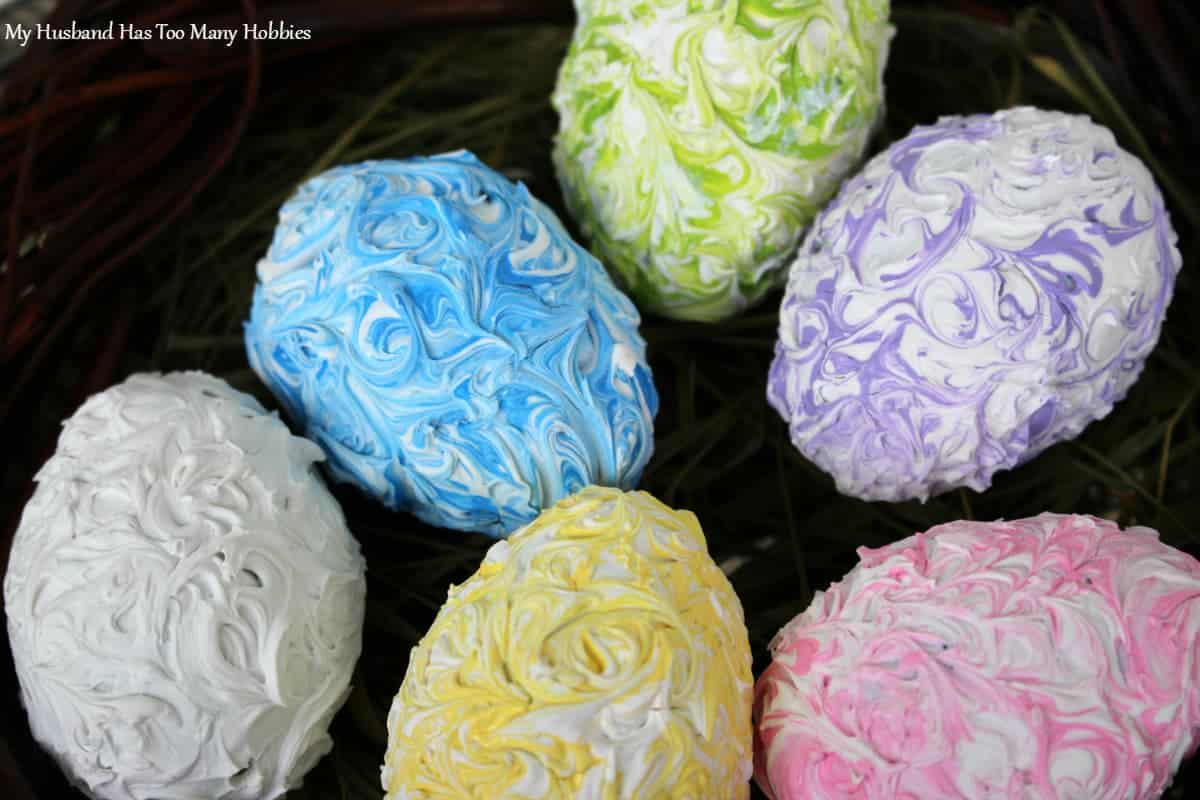
I love the texture on the eggs.
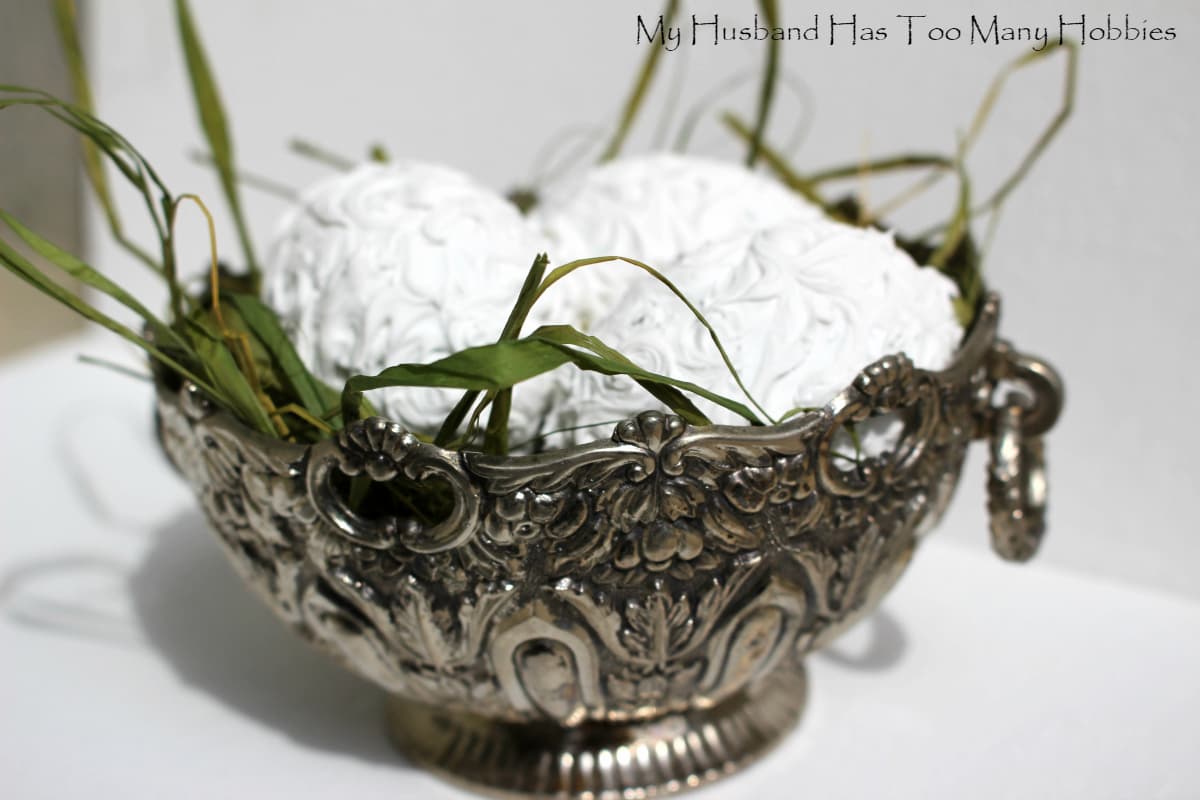
The white eggs look beautiful against the green raffia in my little silver bowl.
Colored or all-white, they make an elegant display for Easter.
The Liquitex Modeling Paste was purchased at Hobby Lobby in the artist/paint section. The 8 oz. jar I purchased easily covered 14 eggs with some to spare. This paste will dry to a very hard surface, is waterproof, and non-yellowing. The jar cost me around $15.
If you can ice a cake, you can do this project!
If you liked this project, we’d appreciate it if you would pin it to share!
