How to Grow Ginger at Home
How to Grow Ginger at Home – A Guide to Homegrown Fresh Ginger
Ginger is an essential ingredient in Indian cuisine, and it’s known for its strong flavor and versatility. Ginger is a staple in Indian kitchens. It can be used to spice up soups and curries, or infuse our morning chai. Have you ever considered growing ginger in your home? This will not only give you fresh ginger whenever you need it but also a rewarding process which requires little effort. It can even be done indoors or in small areas like balconies and gardens.
This guide will walk you through all the steps necessary to grow your ginger plant. From selecting the best materials to harvesting the fresh ginger after several months, this guide will take you step-by-step.
Why Grow Ginger at Home?
Ginger grows well in tropical climates but can be grown anywhere given the right conditions. Consider growing ginger in your own home for the following reasons:
Freshness: If you have fresh ginger on hand, it will give you the best flavor and health benefits. Freshly harvested ginger has a stronger aroma and taste than store-bought ginger.
Homegrown ginger contains no pesticides or chemicals, which are often found in commercial farming. It is therefore as organic as you can get.
– Cost Effective: Growing ginger yourself can save you money over time, especially if it is used frequently in your cooking.
By growing ginger yourself, you can reduce your carbon footprint compared to buying ginger in stores.
When to Plant Ginger?
Ginger is best planted during warmer months. This would be the summer. Ginger needs warmth and humidity in order to flourish, which makes it the perfect plant for warm climates. It can be grown indoors in pots. This makes it available to gardeners who live in colder climates.
How to Grow Ginger at Home: A Step-by-Step Guide
1. Choosing the Right Container
The first step to growing ginger is choosing the right container. Ginger requires space to allow its underground stems (rhizomes) to grow. A medium-sized container is ideal. Here’s what you should look for:
– Size : Select a container at least 8-10 inches deep, and wide. The plant will have more room to grow in a larger pot, but don’t overcrowd it with ginger pieces.
Drainage: Ensure that the pot is well-drained to avoid water accumulating on the bottom. This could cause root rot. To improve drainage, you can add a layer or small stones to the bottom of your pot.
– Material: You can use a plastic or ceramic pot, but if growing ginger indoors a terracotta container will help you regulate the moisture levels.
2. Preparing Soil
Ginger likes a rich, loose soil that is well-drained and acidic. Use a high-quality potting soil or make your own using the following ingredients:
Compost is 70% of the total soil moisture and provides vital nutrients.
30% Garden Soil: This improves drainage and adds texture.
You can use cocopeat, or perlite to improve soil aeration. This will prevent the soil becoming compacted, and improve drainage.
3. Selecting Ginger Root and Preparing it
You’ll need to buy a ginger rhizome, which is the part of ginger that you consume. How to select and prepare ginger:
– Select a plump, firm rhizome : Choose a ginger piece that is firm, without blemishes and slightly dried. Fresh ginger can be too moist, and rots quickly. So it is best to use slightly dried ginger.
Cut the ginger into pieces. Cut each piece into pieces of about 3 inch length, and make sure that every piece has at least 1 “eye” (the small bumps where sprouts will appear).
Tip: You can either buy organic ginger in the store or use ginger you have saved from an earlier harvest. Make sure the ginger you use is clean and healthy.
4. Soaking Ginger
The sprouting process can be accelerated by soaking your ginger rhizome in water before planting. The ginger pieces should be soaked in water for a period of 1 to 2 day. This will help to speed up the sprouting and reduce the risk of rot.
You may even see small buds form after soaking.
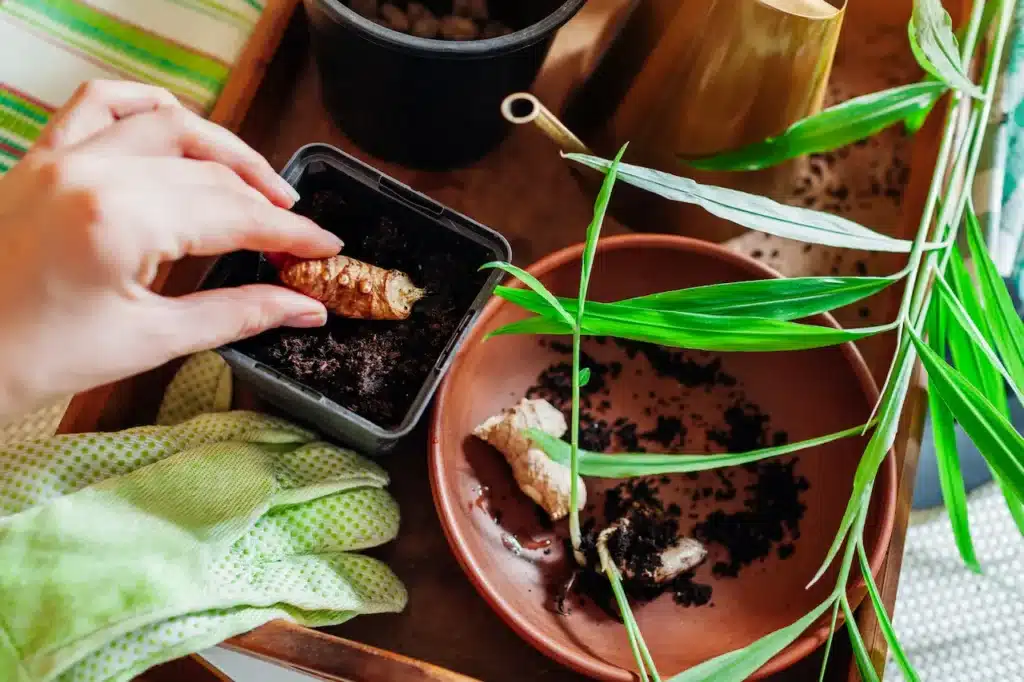
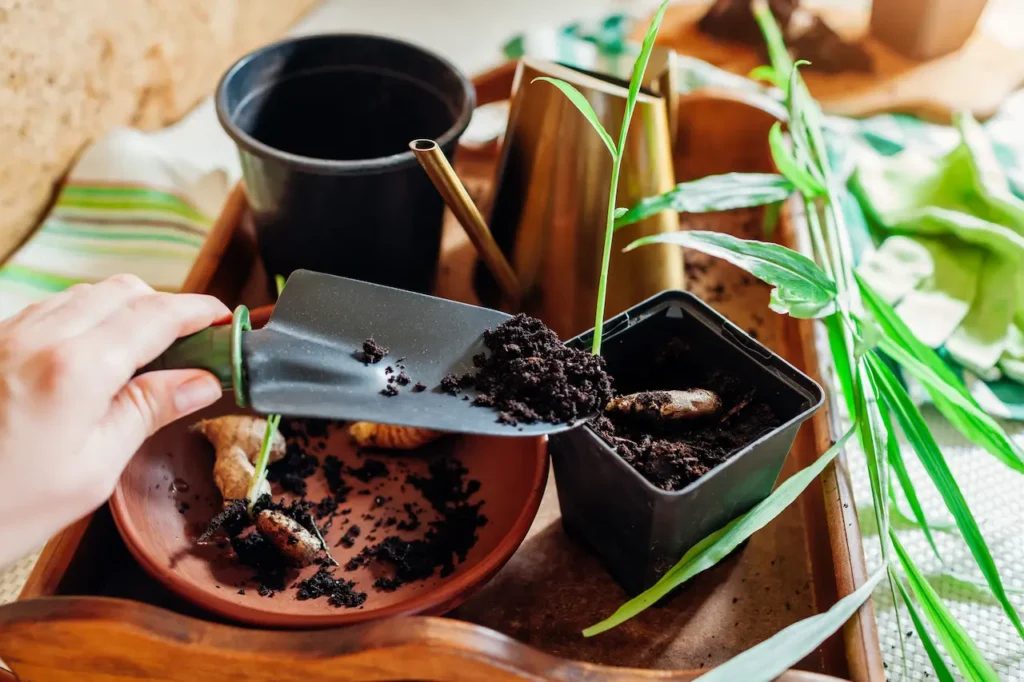
5. Planting Ginger
Plant your ginger in the soil you have prepared. Follow these steps.
Depth: Dig small holes about 2 to 3-inches deep in the soil. Place the ginger pieces so that the buds are facing up.
– Spacing: If you are planting more than one piece in the pot, be sure to leave enough space between them to allow the rhizomes to grow.
Cover the ginger gently with soil. Make sure that it is well covered, but not too tightly packed.
6. Watering Ginger
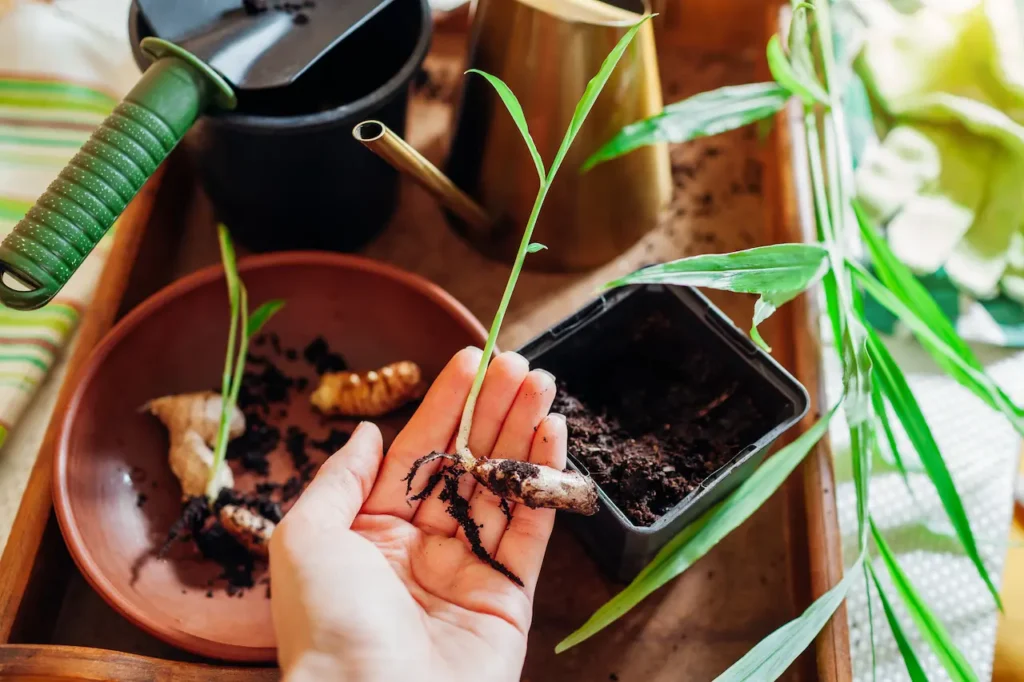
Ginger does not like being waterlogged. Water the soil lightly after planting ginger to help it settle. The soil should be soggy* but not soggy.
How to water your lawn:
Keep the soil moist, but not soggy. So that the soil does not dry out, water lightly.
After sprouting: You can water less once the ginger shoots appear (normally 2 to 3 weeks). Let the top 1-inch of soil dry before you water again.
You may need to water ginger more often if you are growing it in a pot. Containers can dry out quicker than garden beds.
7. Providing the Right Environment
Ginger grows best in a warm, bright environment.
Ginger grows best in bright, indirect sunlight. Place it near windows that face south or west if you are growing it indoors. Ginger does not tolerate scorching direct sunlight. Make sure that you do not expose the plant to excessive heat or light.
Ginger grows best at temperatures between 25degC and 30degC. You may need to shade your ginger plants during the hotter part of the day if you live in an area with high temperatures.
Ginger thrives under humid conditions. Consider misting your ginger plant or using a humidifier if you are growing it indoors.
8. Fertilizing Ginger
Ginger is heavy feeder and will benefit from regular feedings during the growing season. Use organic fertilizers such as compost, aged manure or liquid fertilizers. Here is a basic schedule for feeding:
-During plantation: Add compost to the soil or a fertilizer with a slow release.
– Monthly Feeding: After the plant has established itself and is growing, feed it once every **4 to 6-weeks** with a balanced liquid fertiliser or compost tea.
9. Caring for Your Ginger Plant
Keep your ginger healthy with these additional tips:
– Mulching: Apply organic mulch to the base of plants to retain moisture and maintain soil temperatures.
– Pruning: Remove any yellowing or dead leaves to maintain the plant’s health and promote new growth.
– Pests Ginger is pest resistant, but aphids and mealybugs can attack. Neem oil and mild insecticidal detergents can be used to kill pests.
10. Harvesting Your Ginger
Your ginger plant is ready for harvesting after **6 to 8 month**. The plant should have grown to about **2 feet** tall and be covered in lush green leaves. How to harvest ginger
Test the soil: Before harvesting, check the moisture in the soil. The roots will be fully matured.
– Dig Carefully: Gently dig the soil around the base of your plant using a garden fork or trowel. Be careful not to damage the rhizomes when pulling them out.
– Harvest in stages: Ginger can be harvested at different stages. You can only dig up the ginger you need, and leave the rest to continue growing.
Tip: If you plan to propagate ginger for future harvests by replanting a few pieces with healthy buds, do so.
Conclusion
It is easy to grow ginger at home. You can grow organic, fresh ginger at home with a few simple materials, patience and the right conditions. Homegrown ginger is a great addition to any recipe, whether you’re using it in chai or curry or for health purposes. You can harvest your own ginger from your balcony, or even your garden, by following these simple steps.
Start today and reap the rewards (or roots, if you prefer) of your labor.


