How to Grow Onions at Home
How to Grow Onions at Home: From Seeds to Bulbs
In recent months, the price of onions has been a hot-button topic in the media. Headlines tell stories about people running after bags of onion on the streets as the prices soar. In times of crisis, onions can become very expensive and difficult to find. Here’s a great idea: Why not grow your own onions? This is a rewarding and fun project that requires little space and effort. You’ll also have fresh onions at your fingertips. This guide will show you how to grow both onions from seeds or bulbs.
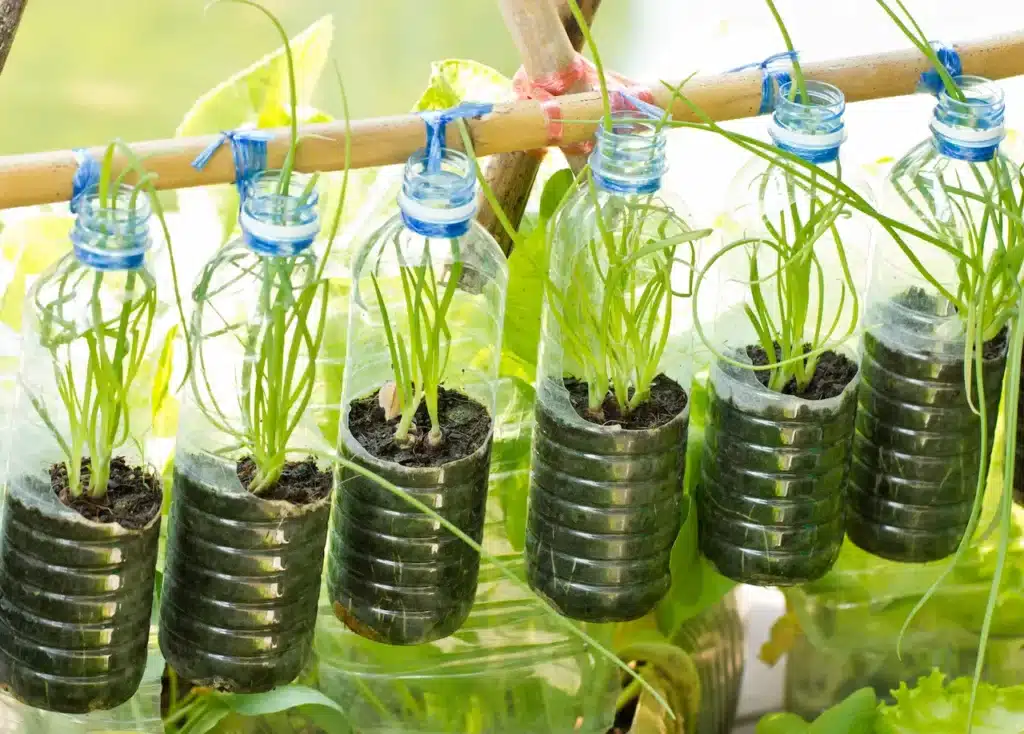
Why grow onions at home?
The versatility of onions is unmatched. They can be used in many dishes from soups and curries to salads and stir fries. The benefits of growing your own onions are numerous:
Growing onions can save you money, particularly if the onion prices in your area are high.
– Freshness : Onions harvested fresh are more flavorful and can be enjoyed at their best.
Grow your own onions to reduce the amount of packaging and transportation waste that comes with buying store-bought onion.
You won’t need to go to the store to buy onions every time you want to make a recipe that calls for them.
Growing Onions From Bulbs: Easiest way to Start
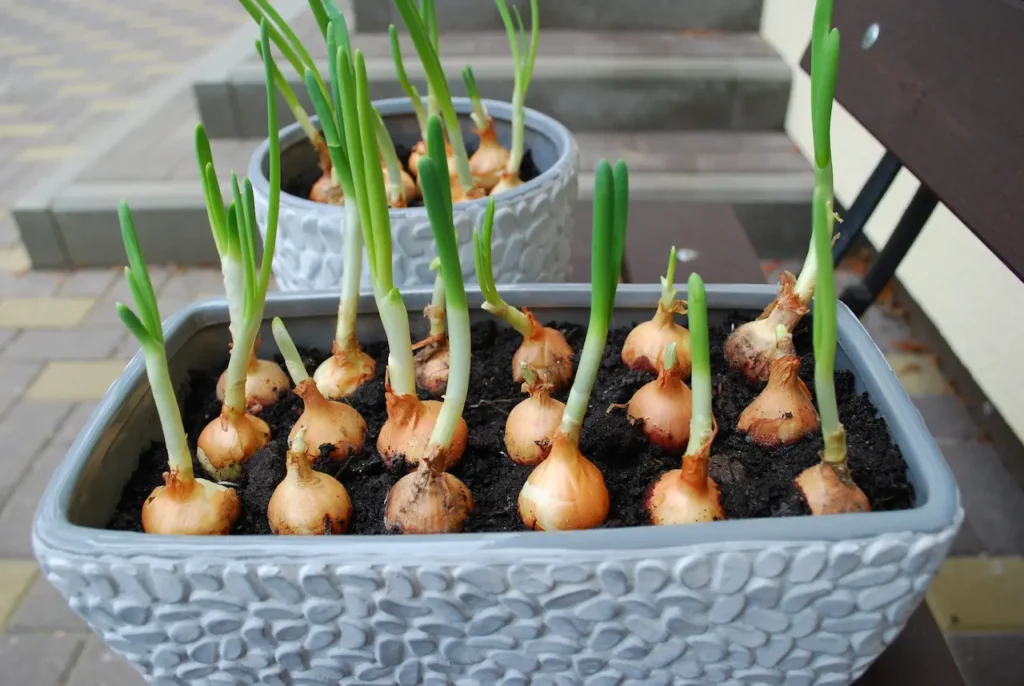
It is easy to grow onions from bulbs, making it a great method for beginners. Bulbs are tiny onions that are usually overlooked in the grocery store because they are too small for cooking. Instead of throwing them away, plant them to grow them into large onions.
1. Selecting the Right Pots and Soils
Choose a pot that is medium size (diameter 10-12 inches) and has good drainage. To grow well, onions need a soil mix that drains well. Use a potting mixture that’s light and airy and contains compost and garden soil with a little bit of sand. This will allow the soil to be loose enough so that the onions can develop their bulbs.
Fill the pot to a few inches above the top with the soil mixture. The soil mix should retain some moisture, but allow for drainage so that the roots don’t become waterlogged and rot.
2. Planting Bulbs
It’s now time to plant your bulbs. Onions are clearly marked at both the top and bottom. The root end will be found at the base and the shoot-end is where greens will appear.
-Plant bulbs: Gently push each bulb into the soil with the root end facing down. Place the bulb about 2 inches below the surface of the soil.
– Spacing: If you are planting several bulbs in a pot, make sure to leave at least 3-4 inch between each bulb to allow it to grow.
3. Light and Watering Conditions
The soil should be lightly watered to help settle it around the bulbs. The soil should be moist, but not wet, because onions do not like to sit in water.
-Location: Place the pot in an area with indirect sunlight. Direct sunlight can damage onions, particularly when they’re just sprouting.
-Moisture : Keep soil moist but not soggy. It is vital to maintain a balance, since onions can rot if they are overly moist.
4. Caring For Your Onions As They Grow
You should see green shoots sprouting at the top of your bulbs within 2 weeks. You can now move the pot into a place where it will receive bright indirect sunlight. This will encourage healthy growth.
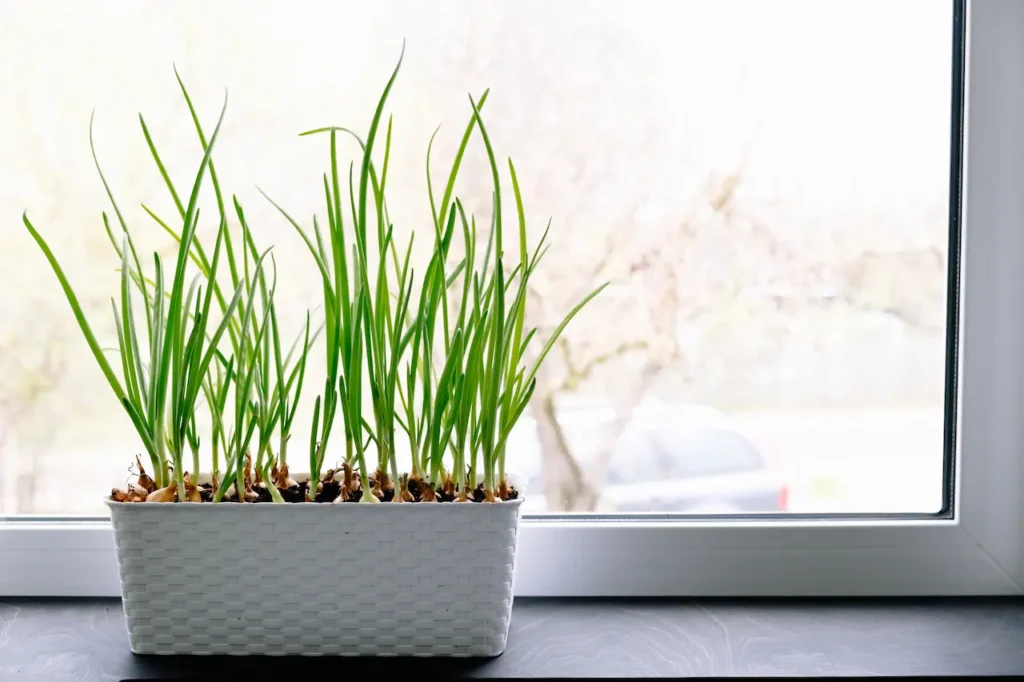
When the green shoots are about 10 inches tall, simply cut them at their base. You can then use them as you would spring onions in your cooking. When the greens are around 10 inches in height, simply snip them at their base. New shoots will grow to replace them.
5. Harvesting of Bulbs
Wait until the tops of the onions begin to dry out and start falling over before you harvest them. When the neck (the thickest portion of the green stalk), which is the thickest part, becomes weak and bends down, the onions are ready to be harvested. The neck (the thickest part of the green stalk) will become **weak** and bend over.
-Loosen soil: Gently loosen soil around the bulb with a trowel, or other hand tool.
Pulling the Onions: Remove the onion bulbs from the soil with care.
– Drying: Spread the onions out flat to dry in an area that is well ventilated and shaded for a couple of days. Once the onions are dry, you can store them in a dry, cool place.
6. Replanting & Regrowing
Save the bulbs to plant next year. It creates a cycle of harvesting and growing, which reduces your dependence on store-bought onion.
Growing Onions From Seeds: An Involved Procedural
It takes more effort and time to grow onions from seed, but the results are worth it. Your seeds will grow into full-sized onions, which may take several months depending on the type and conditions of growth. Here’s what you need to do:
1. Preparing Pot and Soil
Choose a shallow tray-like pot or a regular planting pot with enough drainage. Before planting onions, clean the pot thoroughly. Onions are susceptible to fungus diseases. A clean container will reduce the risk.
As with growing onions from bulbs, onions like a light, draining soil. Mix 70% compost with 20% garden dirt and 10% of sand for drainage.
Fill the pot: Fill the pot up to the top with soil mixture. Leave a few inches of space at the top so that water does not spill out.
2. Planting Seeds
Spread the onion seeds evenly on the surface of your soil. Plant the seeds no deeper than **1 inch** and do not press them into the soil. Cover them gently with a thin layer.
– Moisture: Maintain the soil moist throughout the germination period. The soil must not be waterlogged, but it is important that the seeds don’t dry out.
3. Germination of the Seedlings and their Growth
Place the pot on a warm, sunny spot. To germinate onions, they need lots of sunlight. A south-facing window sill or grow lights are ideal.
You will see small green shoots coming up from the soil in about 7-10 days. Reduce watering at this stage to avoid excess moisture.
– Thinning Out: The seedlings can become crowded after 3-4 Weeks. In this case, you can thin out the seedlings by removing weaker plants and allowing the stronger ones grow. If you have the space, you can move these seedlings to separate containers.
4. Transplanting Onions and Growing Onions
– Transplanting Once the seedlings are large enough and established roots, you may either leave them in their pots or move them to larger containers. If the weather is suitable, they can also be planted directly into the garden.
-Spacing: When transplanting the plants, make sure they are at least 4 inch apart so that the onions have enough space to grow.
5. How to Care for Growing Onions
– Watering: Keep soil moist, but drainable. Onions do not like to sit in water. Make sure that your pot has good drainage.
– Sunlight : Make sure the onions are in an area where they will receive at least 6-8 hours of sun per day. Consider using grow light if you are growing your plants indoors.
– Fertilizing : Feed your onions with a balanced fertilizer during the growing season. The onions are heavy feeders, and they will benefit from regular feeding every 4 weeks.
6. Harvesting Onions
Your onions will be ready for harvesting after approximately 4-5 months. Wait until the tops of the green leaves begin to yellow, and then fall. The onions can be lifted when the neck is weak and bends.
After harvesting your onions, let them dry for a couple of days in a well-ventilated, shaded area before storing in a cool and dry place.
Conclusion
It is easy to grow onions at home. This can be a rewarding and cost-effective task. You will have fresh, tasty onions all year round. You can grow onions from bulbs to get a faster harvest, or from seeds to have a longer-term, more involved project. You can harvest your own onions from your balcony or garden with a little patience and time.
Why wait? Plant your onions now and reap the rewards (or roots!) In just a few short months, you will reap the rewards of your hard work!

